Set up a multi-node Olares cluster 1.5 h
For advanced use cases requiring higher availability and distributed storage, you can physically connect two Olares One units to form a single, unified cluster.
Learning objectives
- Configure a master node with distributed storage support.
- Resolve hostname conflicts between nodes.
- Join a worker node to the cluster using
joincluster.sh.
Before you begin
- The default username and password for Olares One are both
olares.Reset default SSH password
Even if you primarily use the Control Hub terminal, you must reset this password immediately in Settings > My hardware to secure your device against unauthorized access.
- SSH access grants powerful control over the system. Ensure you keep your credentials secure.
Prerequisites
Hardware
- Two Olares One units connected to the same local area network.
- You know the local IP addresses of both units.
Experience
- Familiarity with terminal commands.
- Basic understanding of Kubernetes node management.
Software
- LarePass installed on your mobile phone.
Step 1: Set up the master node
Clean installation required
Setting up a cluster requires a clean environment. If Olares OS is already installed on this device, you must uninstall it first:
sudo olares-cli uninstallThe first Olares One unit will serve as the master node.
Access the master node via SSH using its local IP address.
bashssh olares@<Master-IP-Address>Initialize the local storage service MinIO which backs the distributed file system.
bashsudo olares-cli install storageInstall Olares with JuiceFS enabled. This allows data to be shared across multiple nodes.
bashsudo olares-cli install --with-juicefs=trueThe installation script will prompt you for your Olares ID details.
For example, if your full Olares ID is
[email protected]:- Domain name: Press
Enterto use the default domain name or typeolares.com. - Olares ID: Enter the prefix of your Olares ID. In this example, enter
alice123.
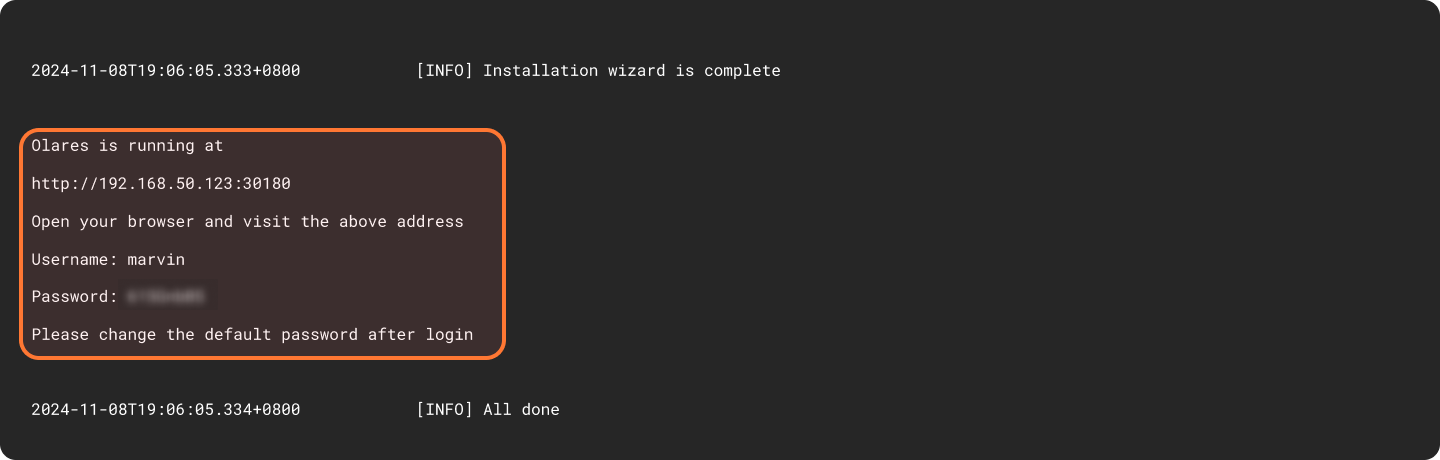
Upon completion of the installation, the initial system information, including the Wizard URL and the initial login password, will appear on the screen. You will need them later in the activation stage.
- Domain name: Press
Use the Wizard URL and initial one-time password to activate. This process connects the Olares device with your Olares ID using LarePass.
a. Enter the Wizard URL in your browser. You will be directed to the welcome page. Press any key to continue.

b. Follow the on-screen instructions to continue the activation.
After setup is complete, the LarePass app returns to the home screen, and the Wizard redirects you to the Olares login page.
Step 2: Set up the worker node
Worker node requirements before joining
The worker must be in one of these states:
Factory state (Olares pre-installed): Olares is pre-installed and the version matches the master node.
If the versions no longer match (for example, the master was upgraded to v1.12.5 while the worker still runs v1.12.4), run
sudo olares-cli uninstall --allfirst to wipe the worker to a clean Linux state.Clean Linux: No Olares installed.
Access the worker node via SSH.
bashssh olares@<Worker-IP-Address>Update the hostname:
bashsudo hostnamectl set-hostname olares-workerINFO
By default, all Olares One units have the hostname
olares. Kubernetes requires unique hostnames for every node in a cluster. Before joining it to the cluster, you must ensure it has a unique hostname.Download
joincluster.sh:bash# This command is for users who have curl installed. curl -fsSL https://raw.githubusercontent.com/beclab/Olares/refs/heads/main/build/base-package/joincluster.sh -o joincluster.shbash# This command is for users who have wget installed. wget https://raw.githubusercontent.com/beclab/Olares/refs/heads/main/build/base-package/joincluster.shRun the script with the master node details:
bashexport MASTER_HOST=<Master-IP-Address> \ MASTER_NODE_NAME=olares \ MASTER_SSH_USER=olares \ MASTER_SSH_PASSWORD=<Password> ./joincluster.shThe script automatically detects whether Olares is already installed on the worker, runs the pre-install check against the master, and joins the cluster.
Step 3: Verify the cluster
Once the join command completes, verify that the nodes are communicating correctly.
Check the status of all nodes in the Kubernetes cluster with the following command:
kubectl get nodesExample output:
NAME            STATUS   ROLES                         AGE   VERSION
olares          Ready    control-plane,master,worker   2h    v1.33.3+k3s1
olares-worker   Ready    worker                        50m   v1.33.3+k3s1
Resources
- Olares CLI: Explore the Olares CLI.
- Olares environment variables: Learn about the environment variables that enable advanced configurations of Olares.