Manage BIOS and EC
This document explains how to manage the BIOS and Embedded Controller (EC) firmware on your Olares One device, including how to check current versions, download and perform firmware updates, unlock advanced settings, and troubleshoot the black screen issue caused by display configurations.
Check firmware versions
Before proceeding with any updates, check your current system firmware versions to determine if an update is necessary.
Power on your Olares One or restart it if it is already running.
When the Olares boot logo appears, immediately press and hold the F7 key to enter the boot menu.
Select Enter Setup to access the BIOS.
On the Main tab, check the following:
- System BIOS Version: This is the current BIOS version.
- EC FW Version: This is the current Embedded Controller (EC) version.
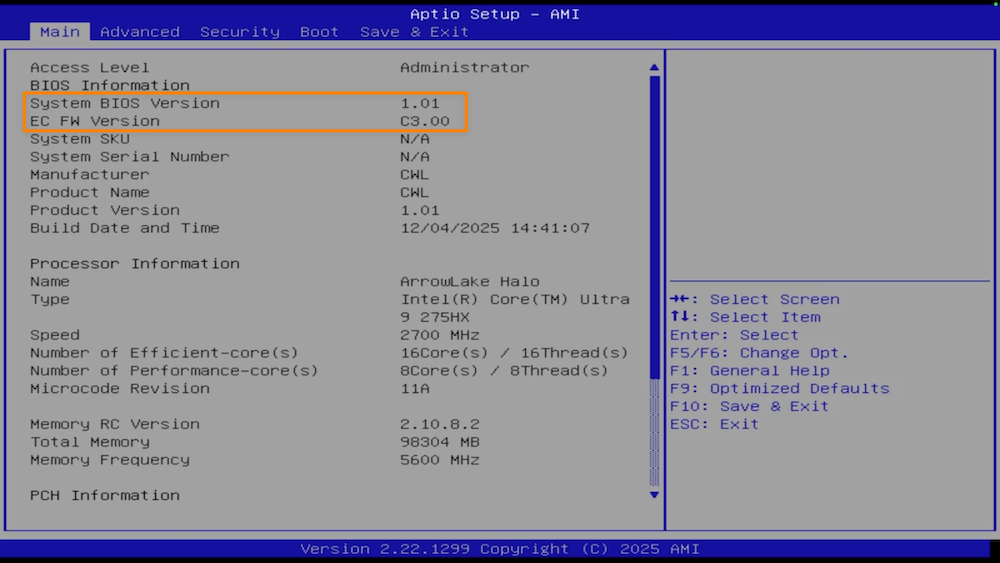
Press ESC, and then select Yes to exit the BIOS without saving.
Download firmware updates
Review the following changelogs for features or fixes included in each update.
If your current versions are older than the ones listed below, download the corresponding update packages to proceed.
BIOS versions
| Version | Release date | Changelog |
|---|---|---|
| 1.04 (Download) | 2026-05-09 |
|
| 1.03 | 2026-03-19 |
|
| 1.01 | 2025-12-04 |
|
| 1.00 | 2025-11-28 |
|
| C400 | 2025-11-05 |
|
EC versions
| Version | Release date | Changelog |
|---|---|---|
| 1.02 (Download) | 2026-01-19 |
|
| 1.01 | 2026-01-13 |
|
| 1.00 | 2025-12-01 |
|
| C3.00 | 2025-11-25 |
|
Update firmware
Use the following instructions to manually flash the BIOS or EC firmware on your Olares One.
Prerequisites
- A USB flash drive formatted to
FAT32. - A monitor and a USB keyboard connected to your Olares One.
- The EC or BIOS update package, downloaded to your computer.
Update the BIOS
Important
Do not disconnect the power supply or turn off the device during the BIOS update process. Doing so might permanently damage the system.
Extract the downloaded BIOS update package.
Copy the resulting folder (e.g.,
AGBOX4_BIOS_101andEFI) to the root directory of your USB drive.Connect the USB drive to your Olares One.
Power on the device or restart it if it is already running.
When the Olares logo appears, immediately press and hold the F7 key to enter the boot menu.
Select your USB drive from the list, and then press Enter.
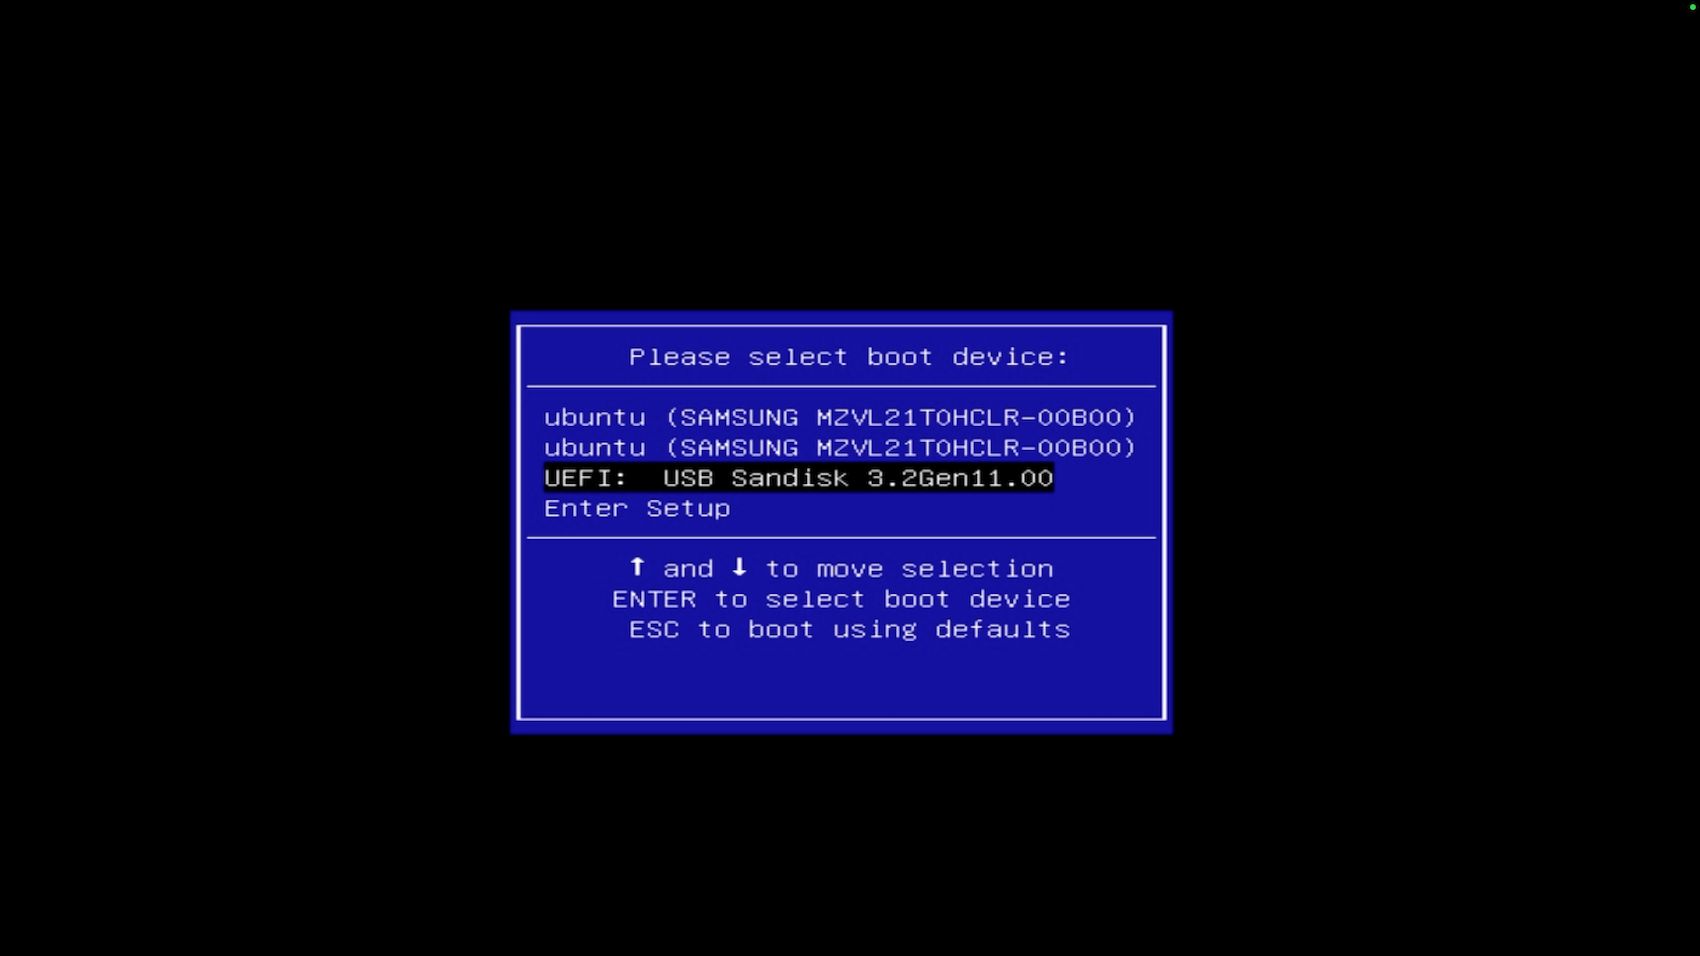
When the EFI startup countdown screen appears (
Press ESC in 5 seconds to skip startup.nsh), immediately press Enter to access the command shell.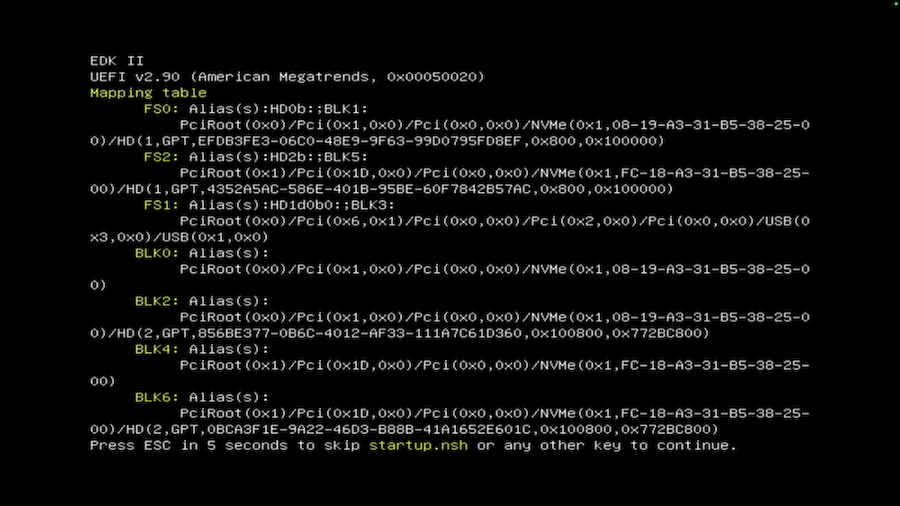
Run the following commands one by one to navigate to the AFU directory and start the flash script:
bashcd AGBOX4_BIOS_<version> # e.g., cd AGBOX4_BIOS_101 cd AFU FlashAFU.nsh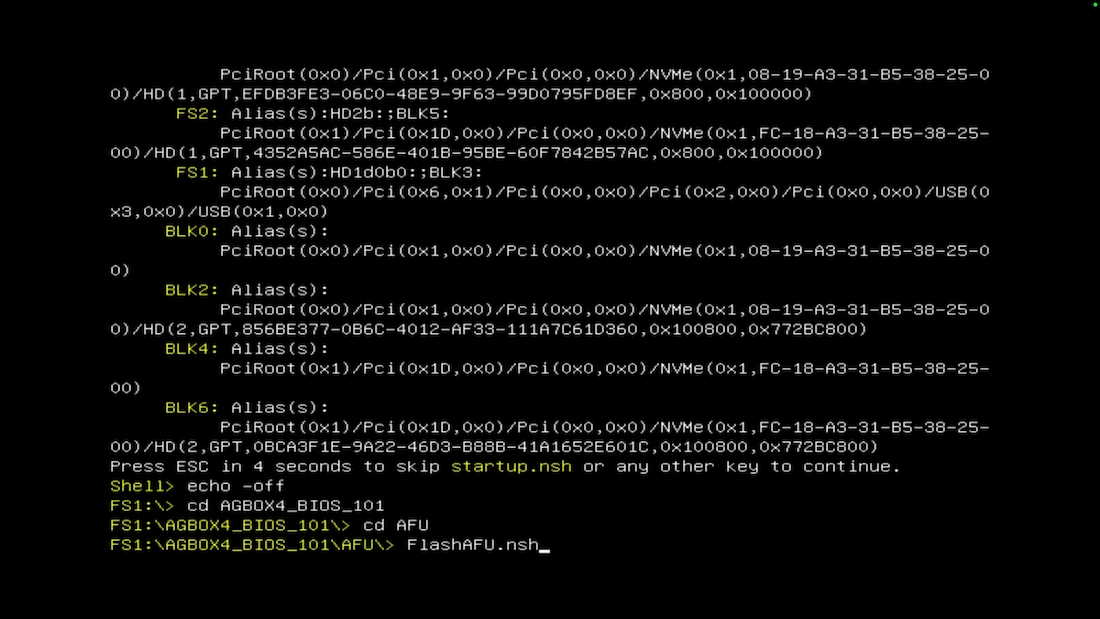
Wait for the script execution to finish.
The system will automatically reboot and display a blue Flash Update progress screen.
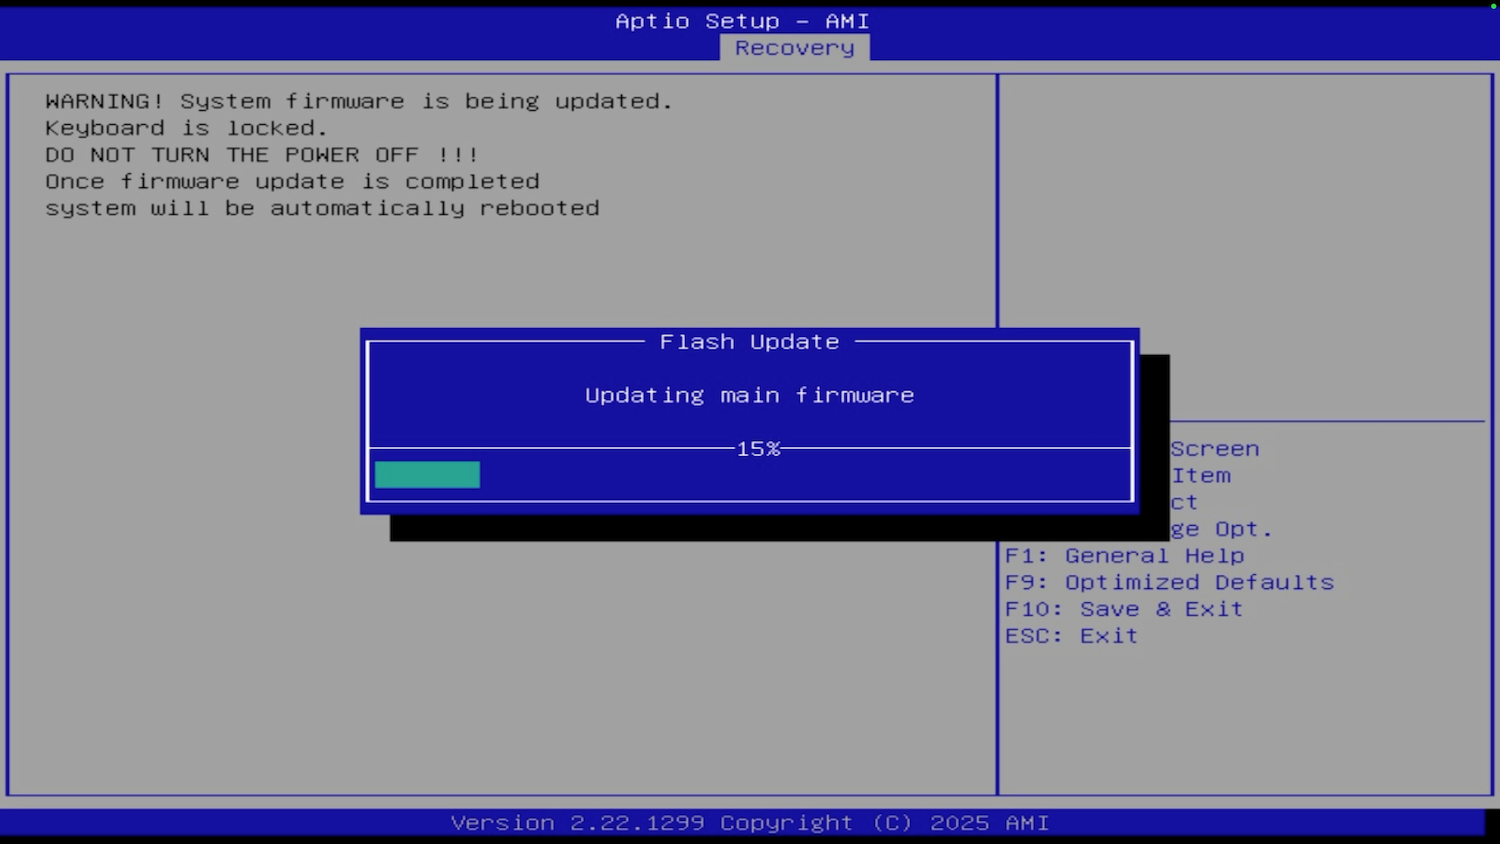
Once the flash update reaches 100%, the ME FW Update starts automatically. Wait for this process to complete.
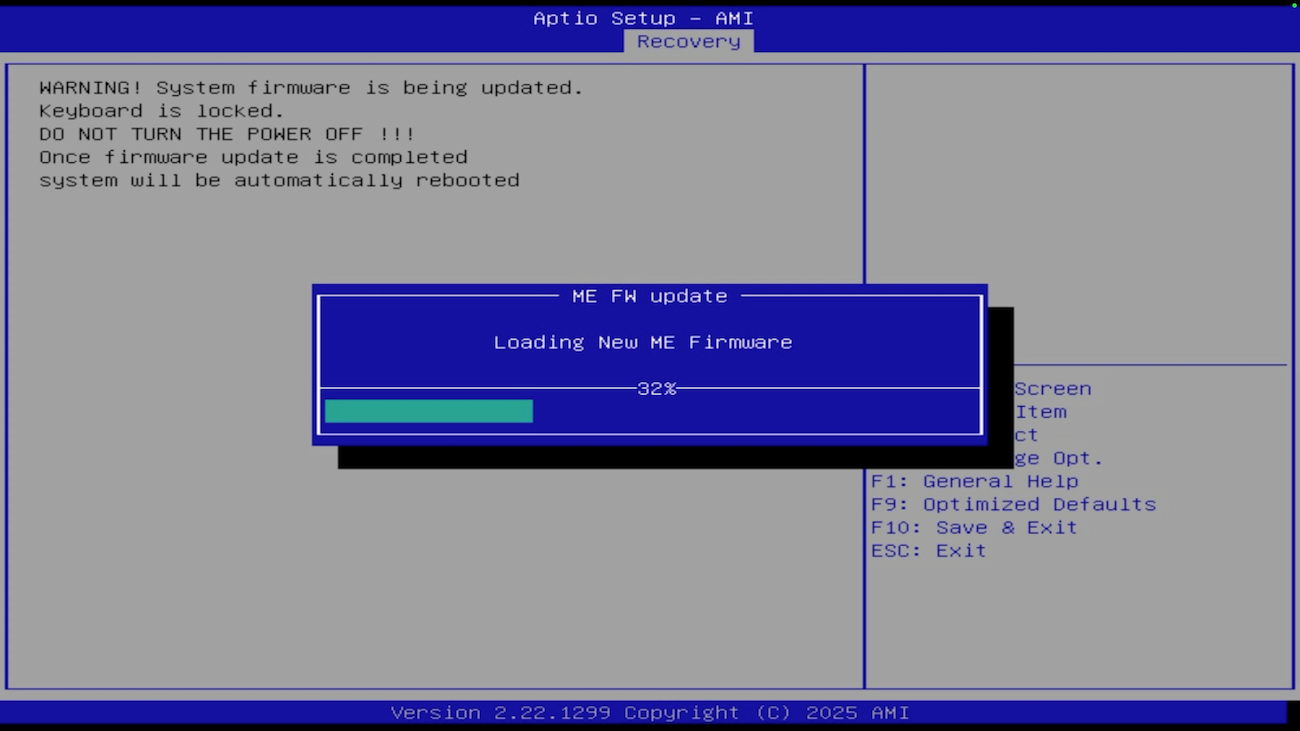
When the ME FW Update finishes, the system will automatically reboot two times. Wait until the normal
olares loginprompt appears.INFO
During the reboot, the system will perform a comprehensive hardware self-test. This process takes approximately 2 to 3 minutes. The screen might remain black during this time.
Verify the BIOS version.
a. Restart Olares One manually.
b. When the Olares logo appears, immediately press and hold F7 to enter the boot menu.
c. Select Enter Setup to access the BIOS.
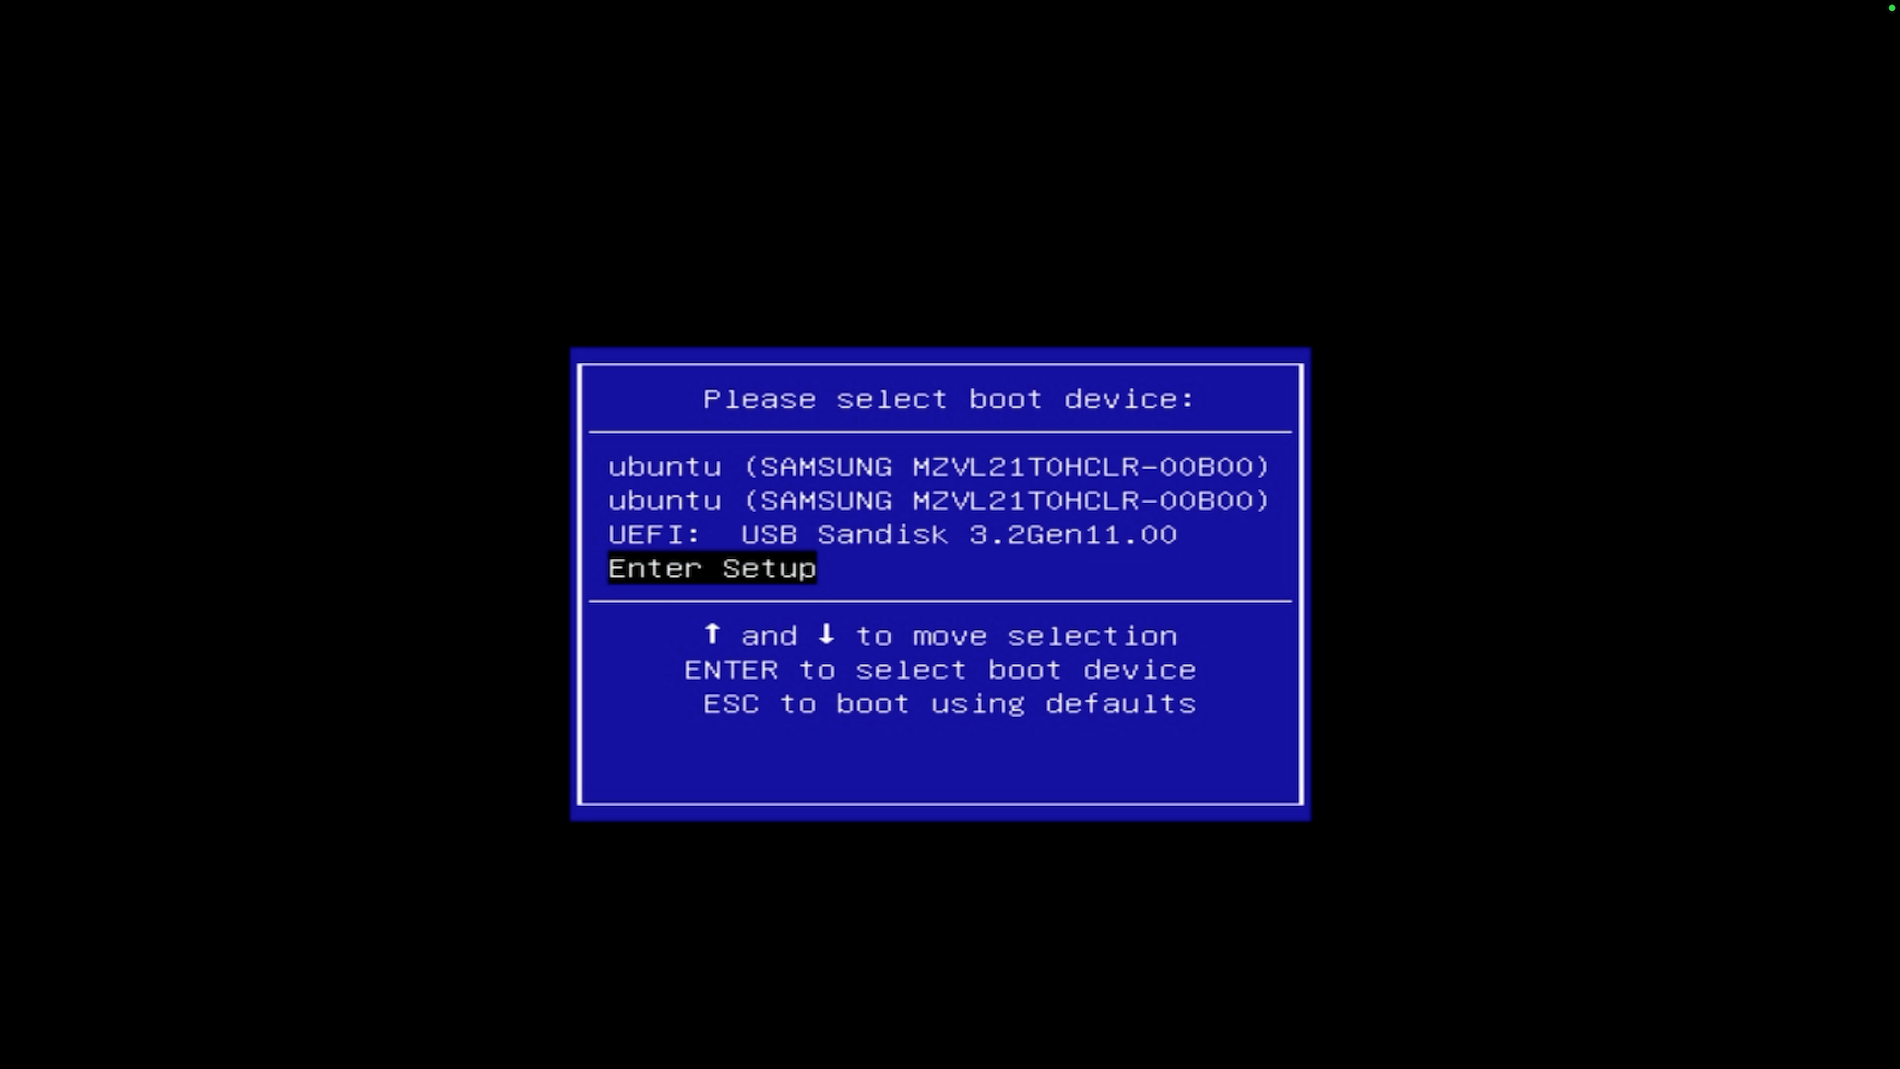
d. On the Main tab, verify that the System BIOS Version displays your target version (e.g.,
1.01) to confirm the update was successful.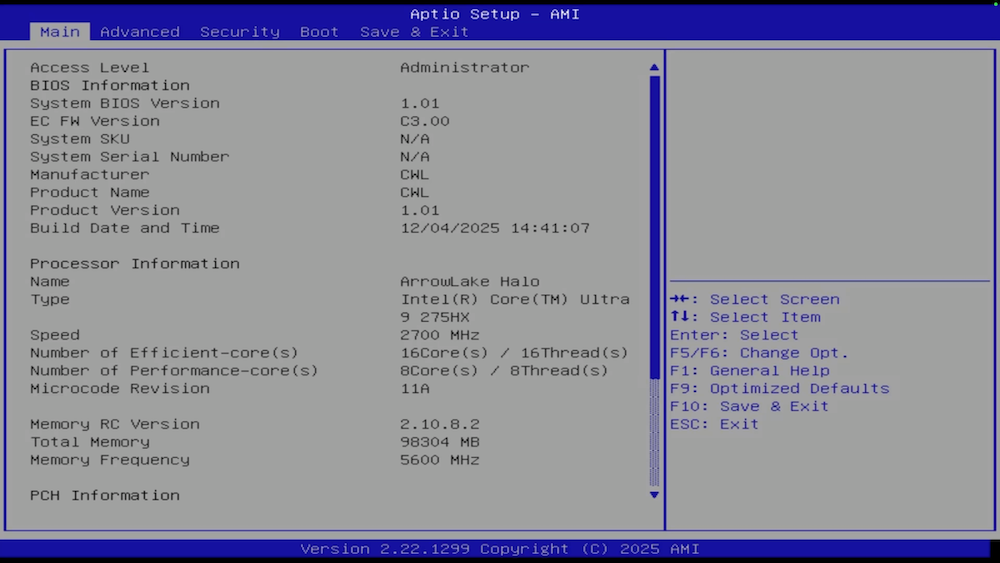
Update the EC firmware
Extract the downloaded EC update package.
Copy the resulting folders (e.g.,
AGBOX4_EC_01_02andEFI) to the root directory of your USB drive.Connect the USB drive to your Olares One.
Power on the device or restart it if it is already running.
When the Olares logo appears, immediately press and hold the F7 key to enter the boot menu.
Select your USB drive from the list, and then press Enter.
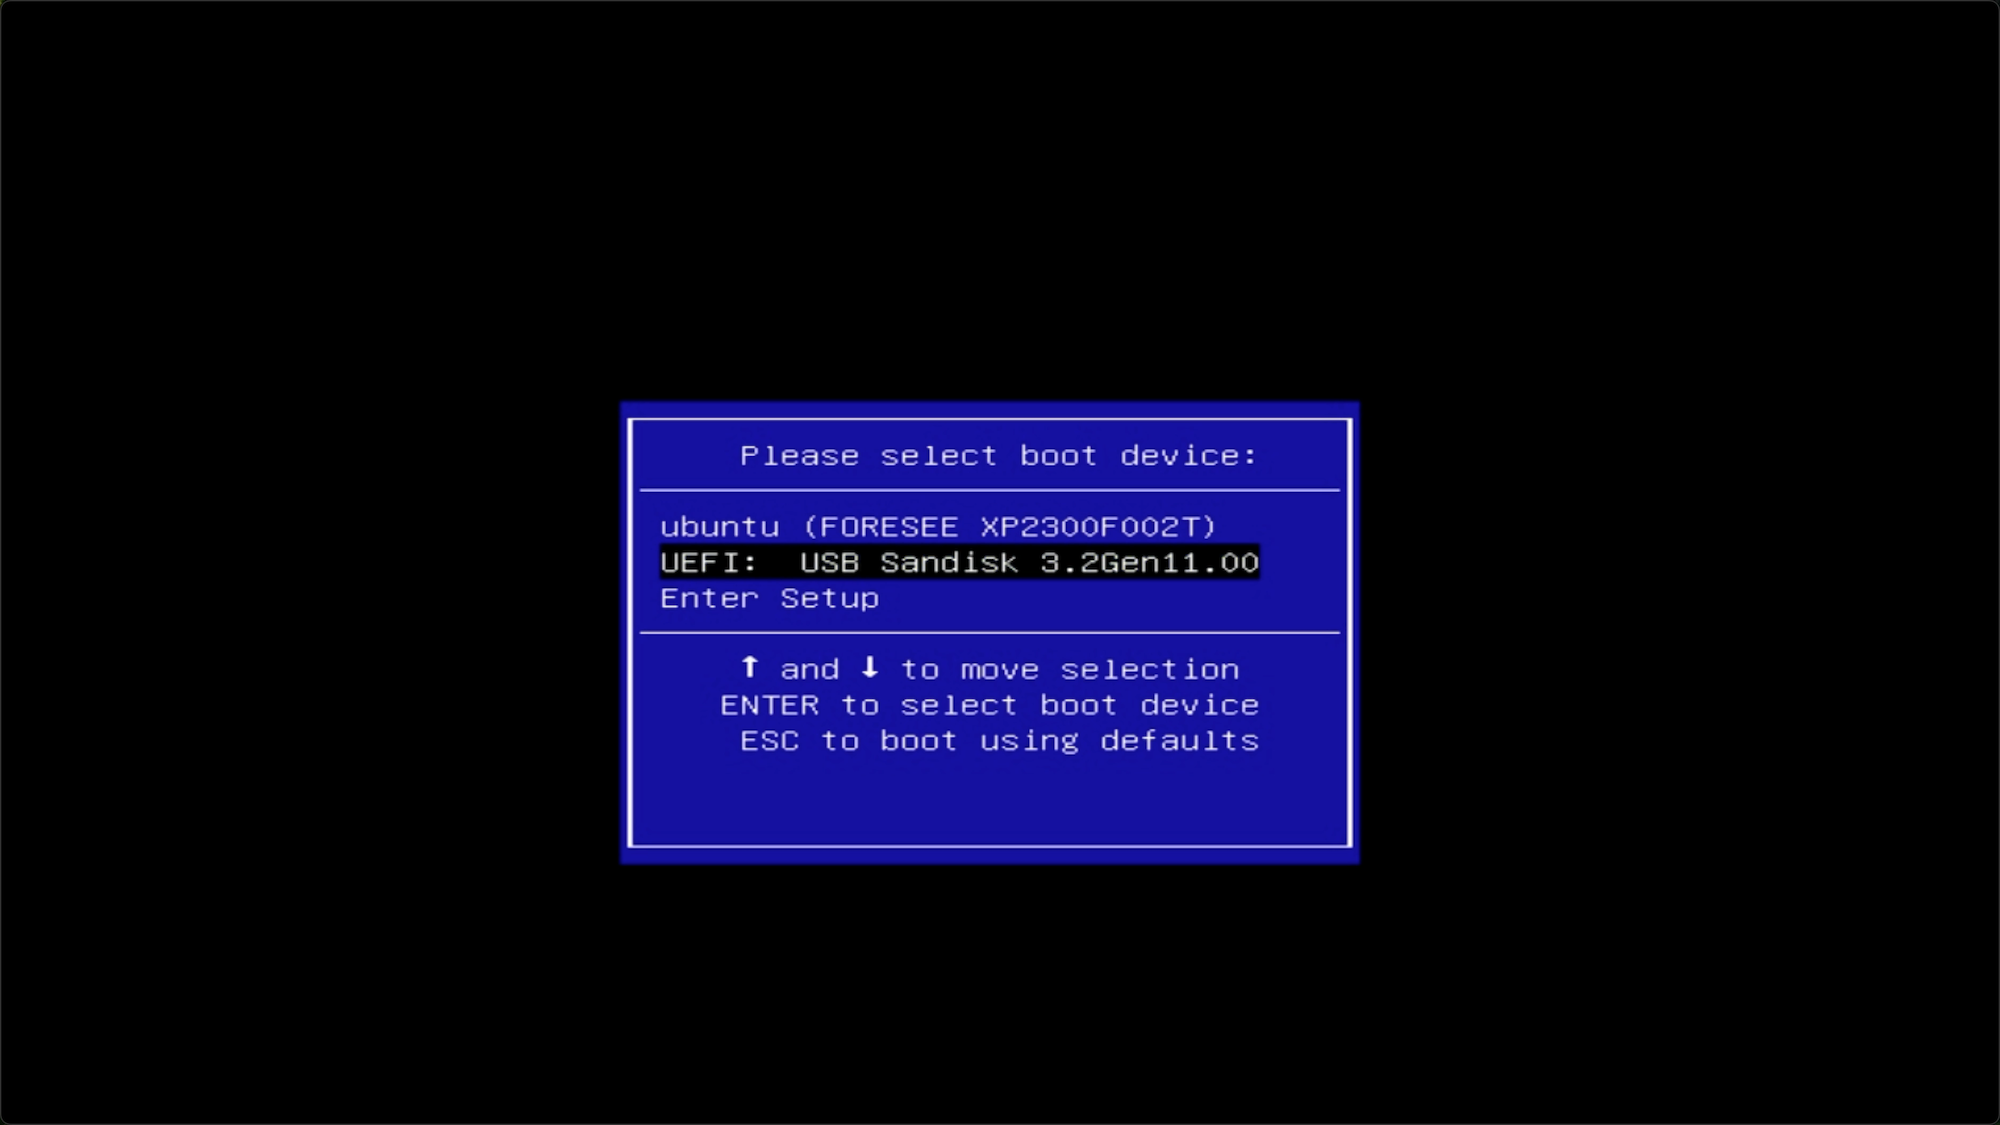
When the EFI startup countdown screen appears (
Press ESC in 5 seconds to skip startup.nsh), immediately press Enter to access the command shell.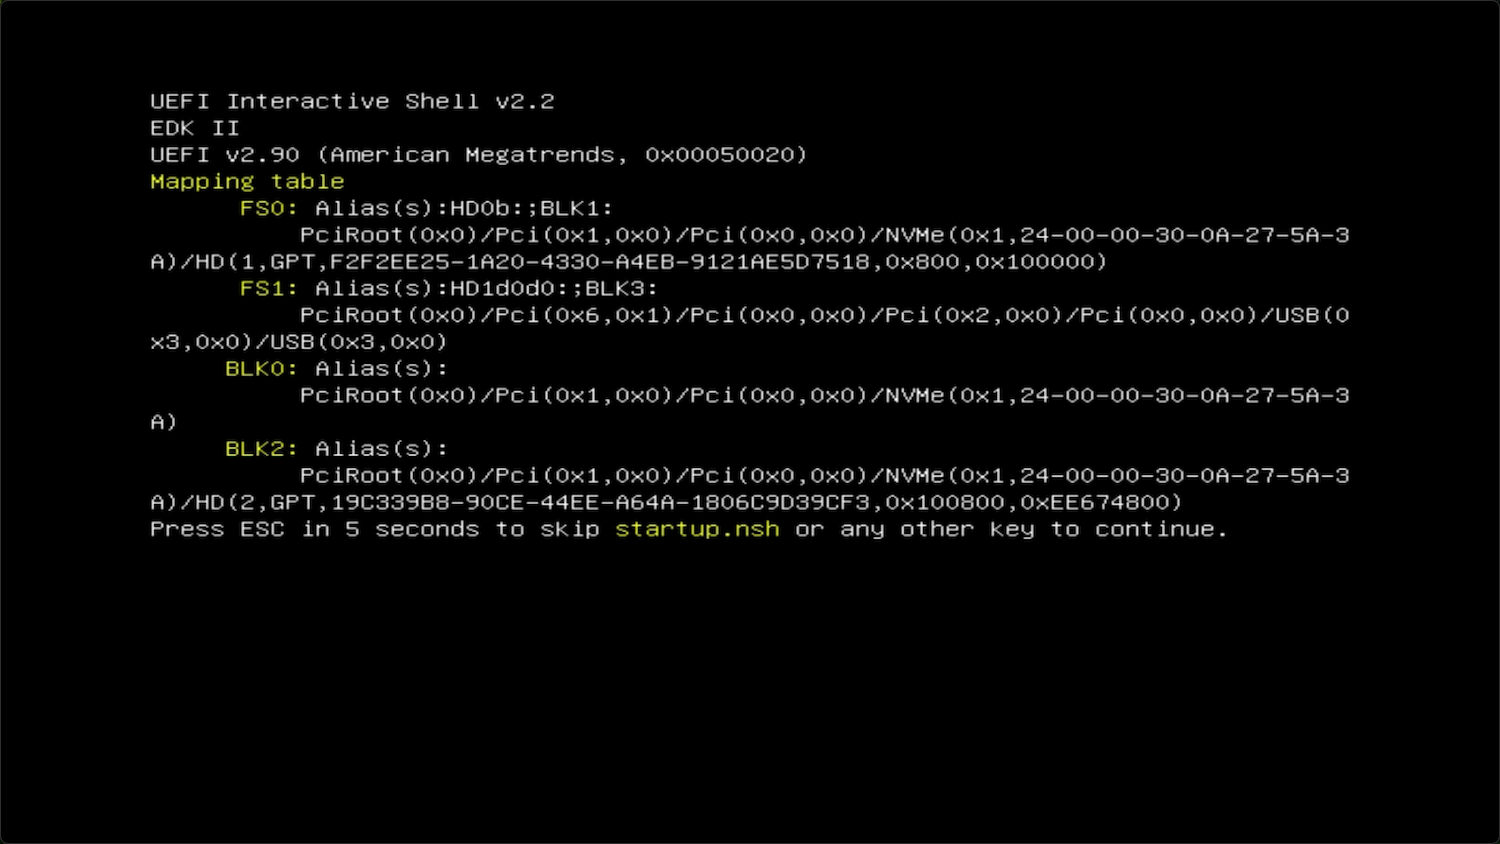
Enter the following command, and then press Enter to navigate to the EC directory:
bashcd AGBOX4_EC_<version> # e.g., cd AGBOX4_EC_01_02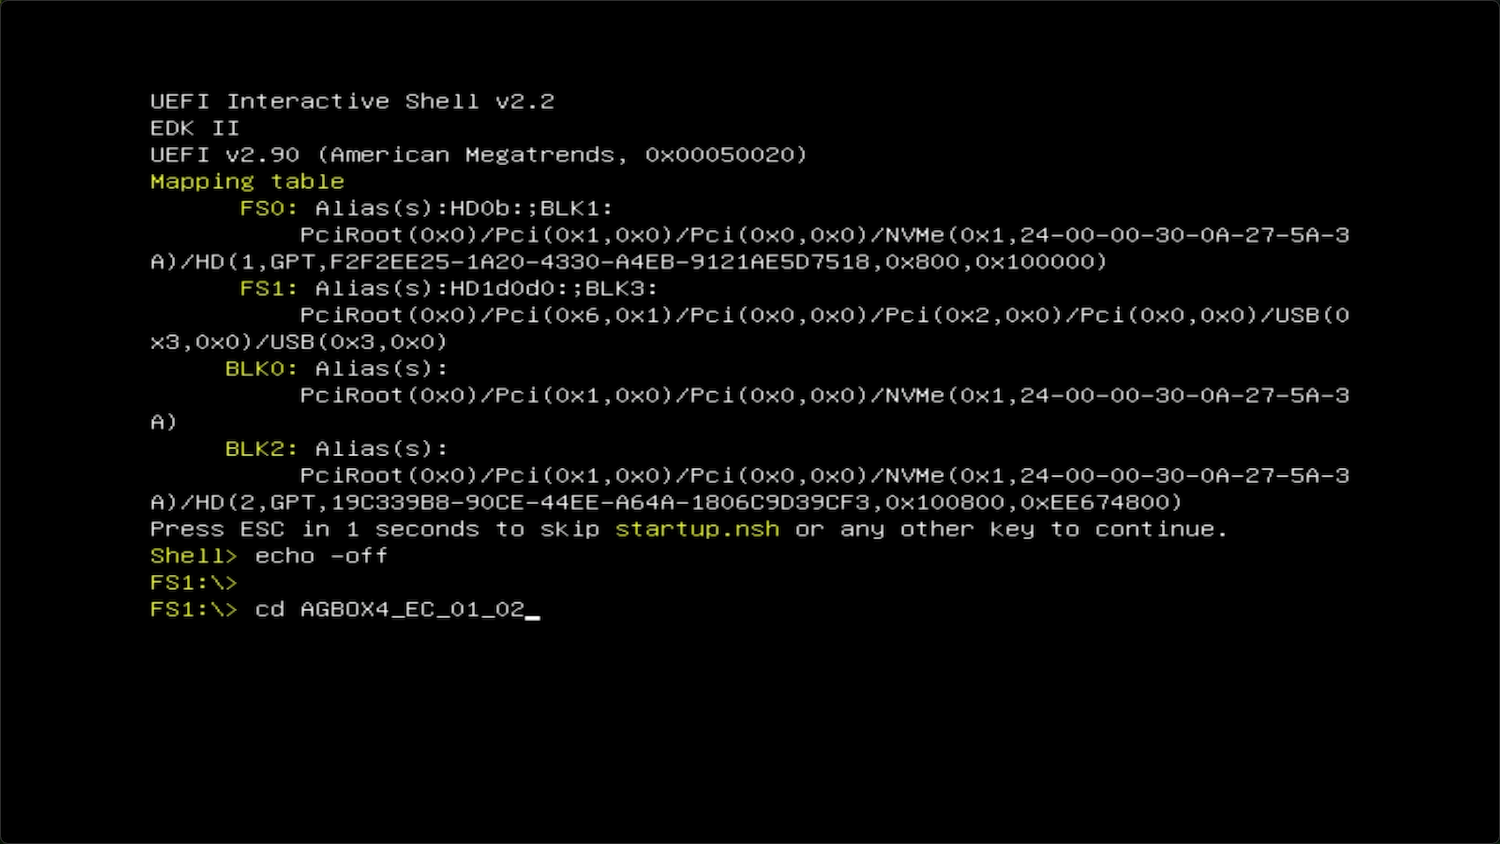
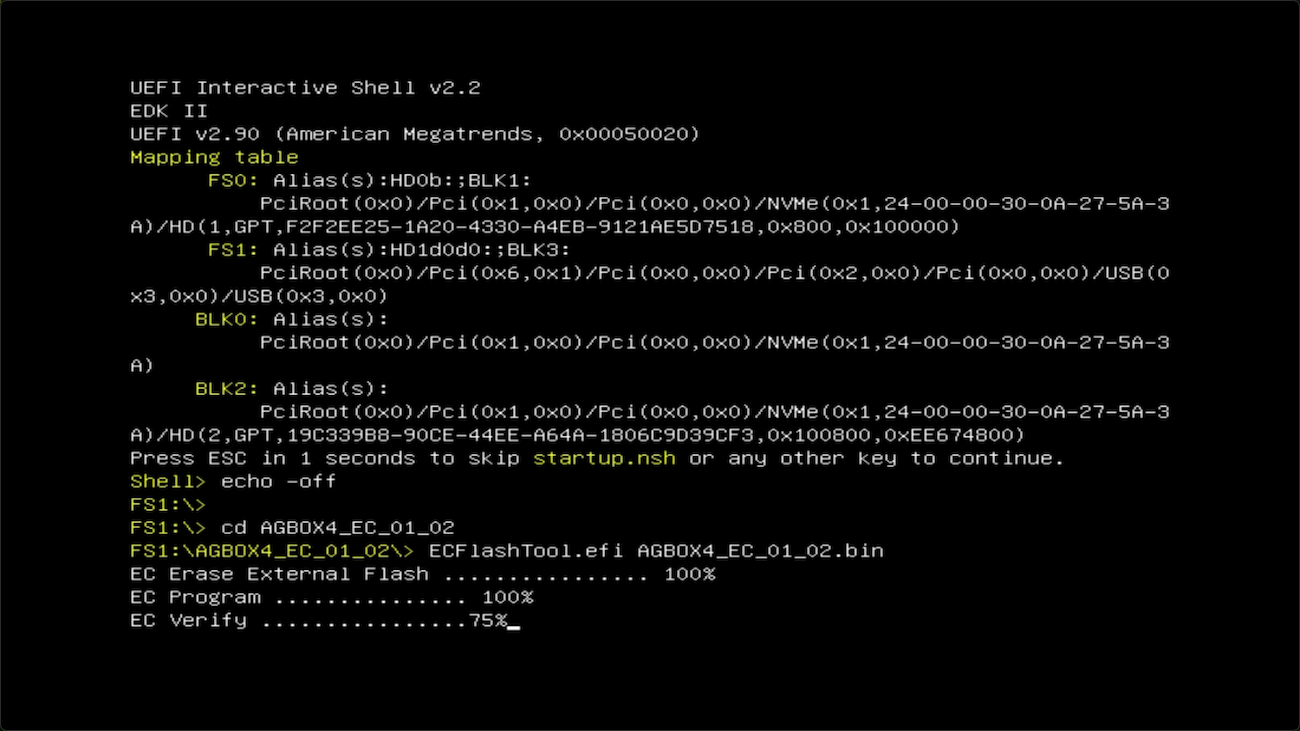
Enter the following command, and then press Enter to execute the update tool:
bashECFlashTool.efi AGBOX4_EC_<version>.bin # e.g., ECFlashTool.efi AGBOX4_EC_01_02.bin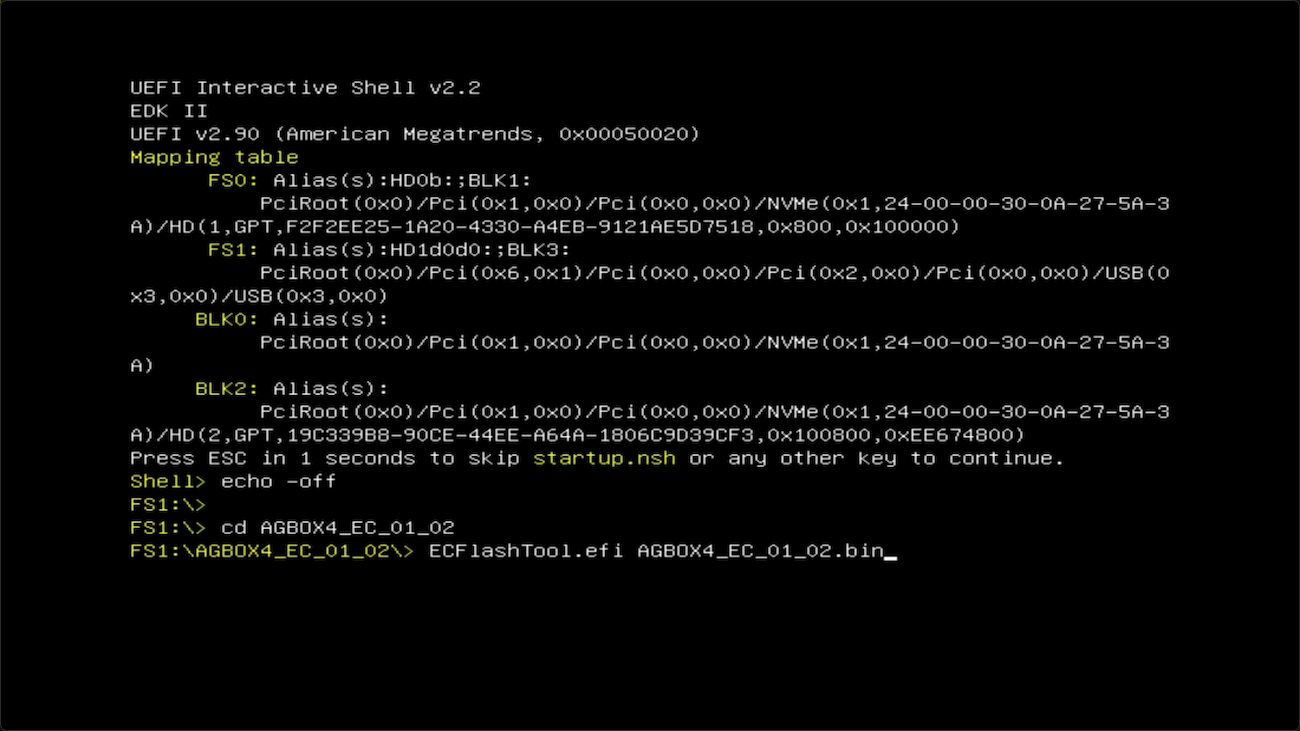
The system will display the progress as it erases and programs the flash memory. Wait for the update process to complete. Once finished, the device restarts automatically.
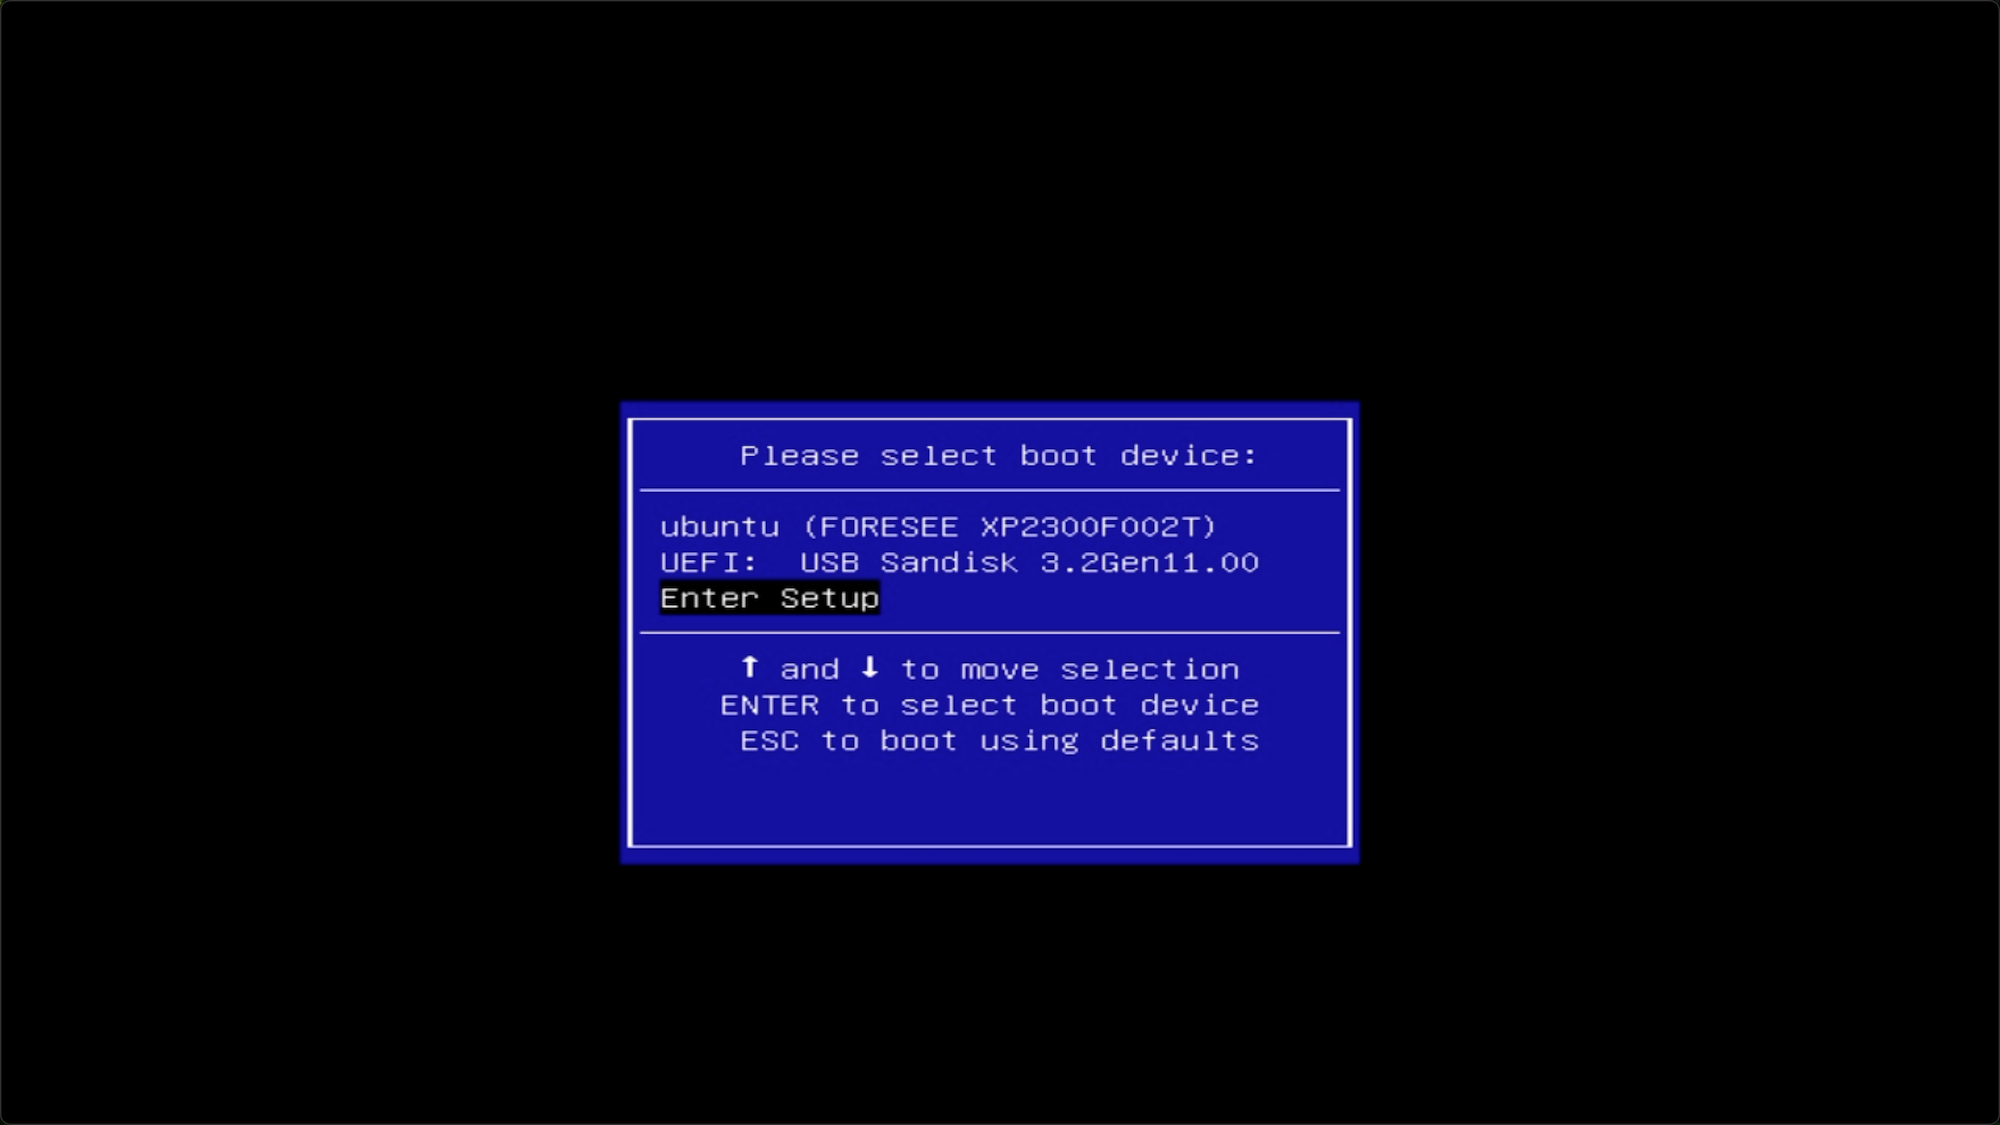
When the Olares logo appears, immediately press and hold F7 to enter the boot menu.
Select Enter Setup to access the BIOS.
On the Main tab, verify that the EC FW Version displays your target version (e.g.,
1.02) to confirm the update was successful.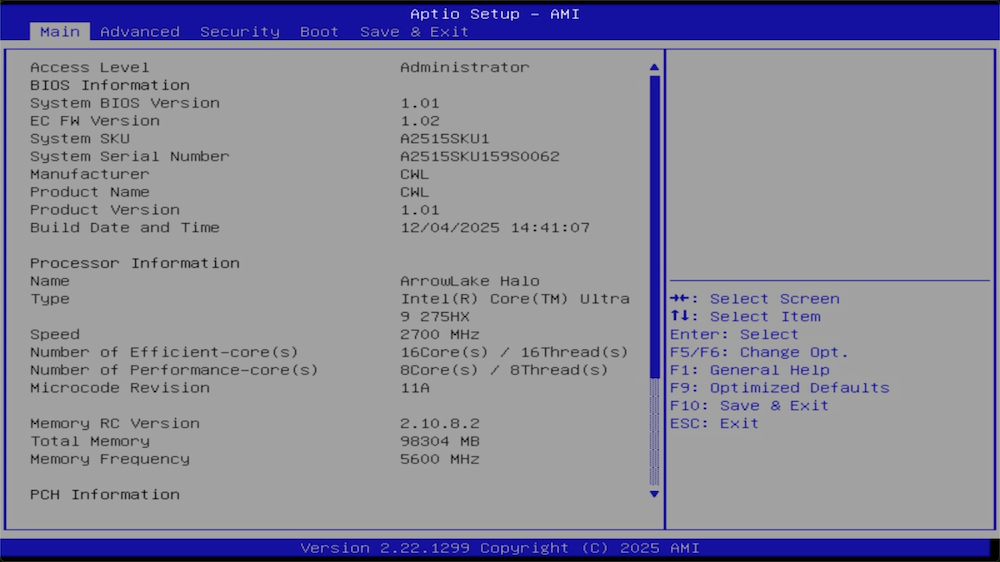
Unlock advanced settings
Some advanced BIOS options are hidden by default to prevent accidental configuration changes that could impact system stability.
If you need to perform deep hardware configuration, you can unlock the hidden advanced settings:
Access the BIOS, and then go to the Advanced tab.
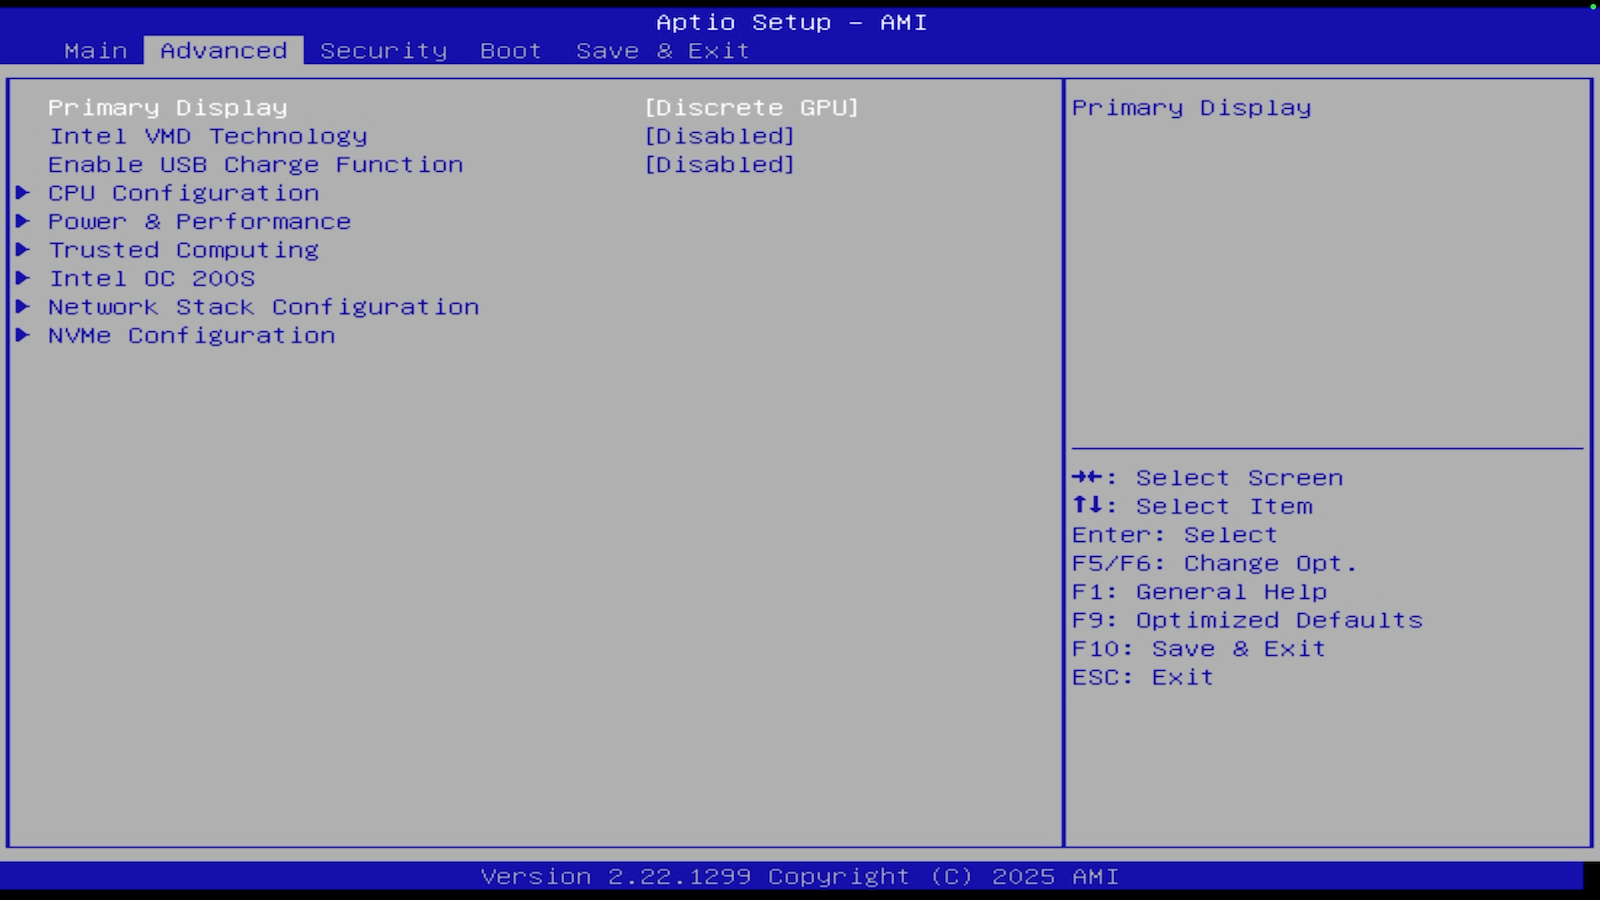
Press Ctrl + Right Arrow on your keyboard. The hidden configuration options, such as RC ACPI Settings and PCIE Configuration, will appear on the screen.
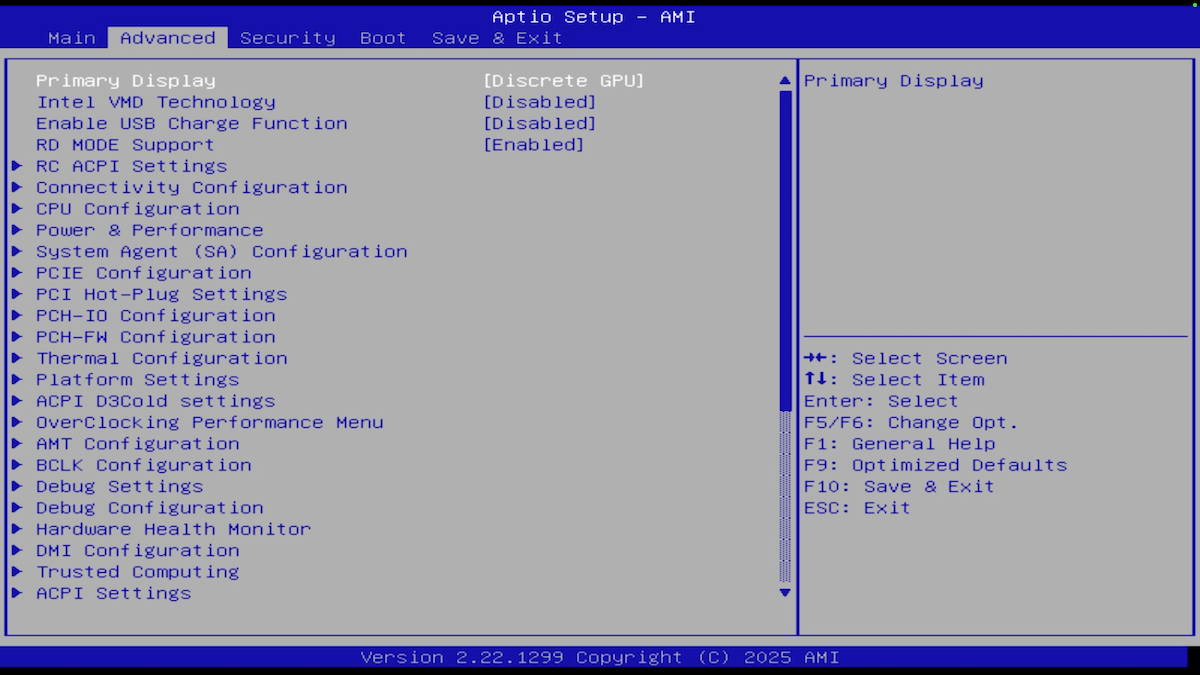
Do not change the Primary Display
Ensure that the Primary Display setting remains set to Discrete GPU.
Do not change this setting to HG (Hybrid Graphic). Selecting HG will route the video output to an inactive interface, resulting in a completely black screen on startup.
If you accidentally changed this setting and lose display output, refer to the Troubleshooting section to perform a blind reset.
Troubleshooting
Cannot enter BIOS (Black screen)
When you power on Olares One and attempt to enter BIOS, the monitor screen remains black, preventing the BIOS setup interface from displaying.
This issue typically occurs if the Primary Display setting in the BIOS was changed from Discrete GPU to HG (Hybrid Graphics). When Primary Display is set to HG, the video output during the early boot stage might be sent to a different display interface (e.g., integrated graphics) that your monitor does not detect. The system might actually enter BIOS successfully, but your monitor screen stays black, making it impossible to see the BIOS setup interface.
Solution
Follow these steps to blindly reset the BIOS to factory defaults. This restores the Primary Display setting to its default value.
WARNING
- These steps require physical removal of storage devices. Ensure that you power off the device and disconnect the power cable before proceeding.
- The screen will remain black until Step 3. Use the keyboard Caps Lock indicator to confirm BIOS entry.
Step 1: Prepare the device
- Power off Olares One.
- Disconnect the power cable.
- Disconnect all external storage drives, such as USB flash drives or external hard drives.
- Open the device enclosure and temporarily remove the internal NVMe SSD.
- Connect a keyboard and monitor to the device.
- Reconnect the power cable.
Step 2: Perform a blind reset
- Power on Olares One, and then immediately press and hold the Delete key for about 20 seconds.
- Verify that the system is receiving keyboard inputs by pressing the Caps Lock key: If the Caps Lock indicator light on your keyboard turns on and off, you have successfully entered BIOS.
- Press the F9 key, and then press Enter. This shortcut loads the factory default BIOS settings.
- Press the F10 key, and then press Enter. This shortcut saves the configuration and prompts the device to restart.
Step 3: Verify the fix
- Wait for the device to restart. The Olares One logo should appear, indicating that the normal display output is restored.
- Power off the device and disconnect the power cable.
- Reinstall your internal NVMe SSD and reconnect any external drives.
- Reconnect the power cable and power on the device to resume normal BIOS operations.