Create an Olares ID
Your Olares ID is your identity on Olares. It becomes your personal domain (for example, yourname.olares.com) and the account you use to sign in.
Olares ID creation is only available in the LarePass mobile app.
Using a custom domain?
If you want to create an Olares ID under a custom domain, see Create an Olares ID with a custom domain.
Prerequisites
- LarePass mobile app installed. See Install LarePass.
Create your Olares ID
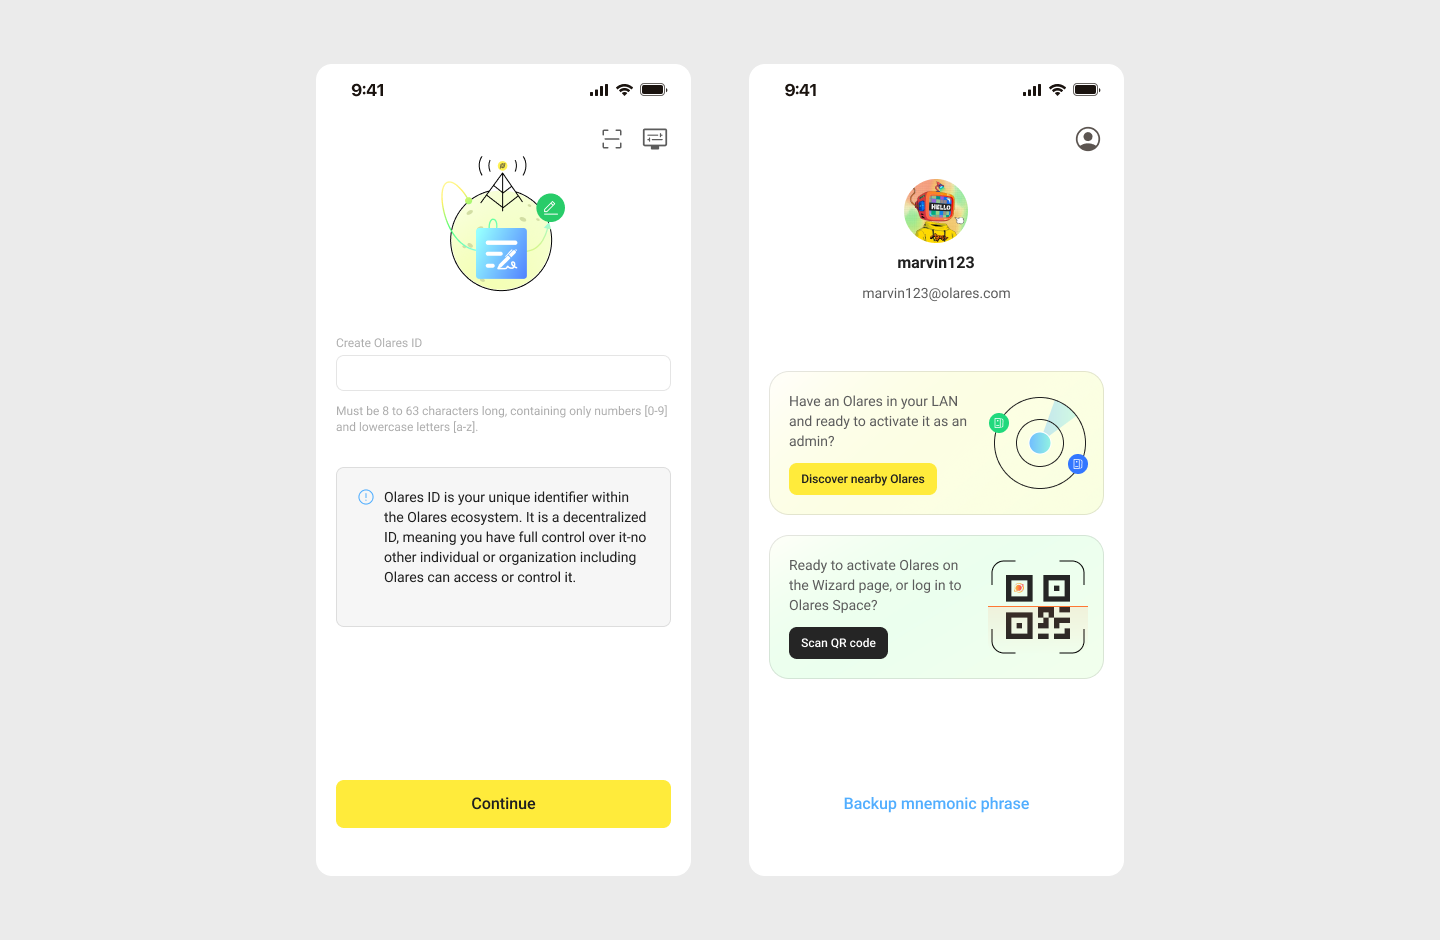
In the LarePass app, tap Create an account.
Enter your desired username. It must be at least 8 characters long and contain only lowercase letters and numbers.
Tap Continue to finish the creation process.
After you get your Olares ID, wait for Olares installation to complete, then proceed with activation.