Run a Windows VM on your Olares device
Olares lets you run a full Windows virtual machine directly on your device, giving you a personal, always-available Windows environment accessible from macOS, Windows, or Linux.
System capabilities
- Olares supports running essential Windows applications.
- By default, the Windows VM uses CPU-based virtualization and virtual display output.
- Intel integrated GPU support is available only on supported hardware and requires additional host configuration. See Enable Intel integrated GPU passthrough for Windows VM.
- Audio output is only supported when connected via Remote Desktop (RDP).
This guide walks you through installing the Windows VM, enabling secure networking, and connecting using Remote Desktop for the best experience.
Learning objectives
By the end of this tutorial, you will learn how to:
- Install and set up the Windows VM on your Olares device.
- Access the Windows VM using the browser-based VNC viewer or Microsoft Remote Desktop (RDP).
- Change your Windows login password from inside the VM.
- Transfer files seamlessly between your computer and the Windows VM.
Install and configure Windows VM
Windows is available as an app in the Olares Market.
Install Windows
Open the Market, and search for "Windows".
Click Get, then click Install.

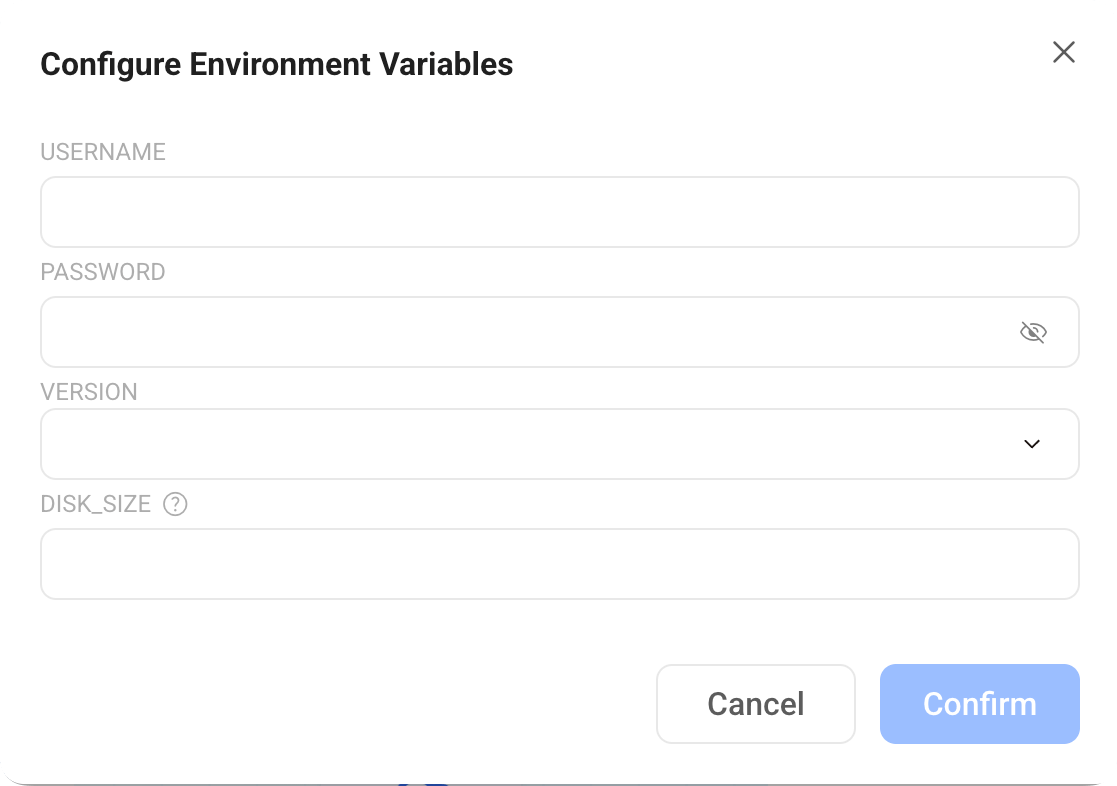
When prompted, set environment variables:
- USERNAME: Create a username for accessing Windows.
- PASSWORD: Set the corresponding password.
- VERSION: Select your preferred Windows version from the dropdown list.
- DISK_SIZE: Allocate disk space for Windows.
Wait a few minutes for the installation and initialization to complete.
Set up Windows
Once the installation is finished, open Windows from Launchpad to start the VM for the first time.
Olares will automatically download and install the system image of the corresponding Windows version. This may take several minutes depending on your network speed.

Access the Windows VM
You can access your VM in two ways:
- Browser: for setup and quick tasks
- Remote Desktop: for the best daily experience
Method 1: Access from the browser (VNC)
Open the Windows app from Launchpad to launch the VM directly in your browser using VNC.
INFO
VNC (Virtual Network Computing) provides immediate, clientless access without requiring any additional software. It is ideal for initial setup, troubleshooting, or emergency access when you cannot use RDP. However, it can feel less responsive and lacks advanced features like audio redirection and high-performance graphics.
Method 2: Access using a Remote Desktop Client (RDP)
RDP (Remote Desktop Protocol) provides a much smoother, native-like experience with better performance, audio support, and seamless file transfer.
Locate port number for Windows
Multiple Windows instances
Each Windows instance uses a unique port. If you have cloned the Windows app, ensure you check the ACLs section for the specific instance you want to access.
- Open Settings, and navigate to Application > Windows.
- Under Permissions, click ACLs.
- Note the port number listed in the Port column. You will need this for the connection step.

Connect to Windows via RDP
INFO
The following steps show the macOS interface, but the workflow is similar on all platforms.
Enable VPN on LarePass on your device.
When the VPN connection status shows P2P, or Intranet, the secure network is active and ready for remote access.
Install the Remote Desktop client.
- Windows: No installation needed.
- macOS / iOS: Download Windows App from the App Store.
- Android: Download Windows App from Google Play.
Open Windows from the Launchpad in your browser. Copy the domain from the address bar (exclude
https://and any text after the domain).
Add your Windows VM as an RDP connection.
a. Open the Windows App on your device.
b. Click the + icon and select Add PC.
c. In PC name, enter the domain you get from the previous step, followed by a colon and the port number.
For example, if your URL is
https://0f4137ed.<username>.olares.com, and the port is47374, enter:0f4137ed.<username>.olares.com:47374
d. Click Add.
Connect to the Windows VM.
a. Double-click your saved PC entry, or click ⋯ and choose Connect.

b. When prompted, enter the Username and Password you created earlier.

c. If a security warning appears, click Continue.

You are now connected to your Windows VM via RDP. 
Optional: Change your Windows login password
You can update your Windows login password directly from inside the VM:
- Click the search bar in the Windows taskbar and type "password".
- Select Change your password.

- Click Change to set your new password.

Transfer files between your computer and Windows
RDP supports clipboard-based file transfers.
You can:
- Copy any file on your Mac or PC.
- Paste it directly into the Windows VM.
The file appears immediately in Windows and is ready to use.
Disconnect from the Windows VM
To end your RDP session, simply close the RDP window.
The Windows VM continues running on your Olares device and is always ready for you to reconnect.
FAQ
The Windows VM shows a blank screen or no desktop
The browser may have suspended the VNC connection due to inactivity to conserve system resources.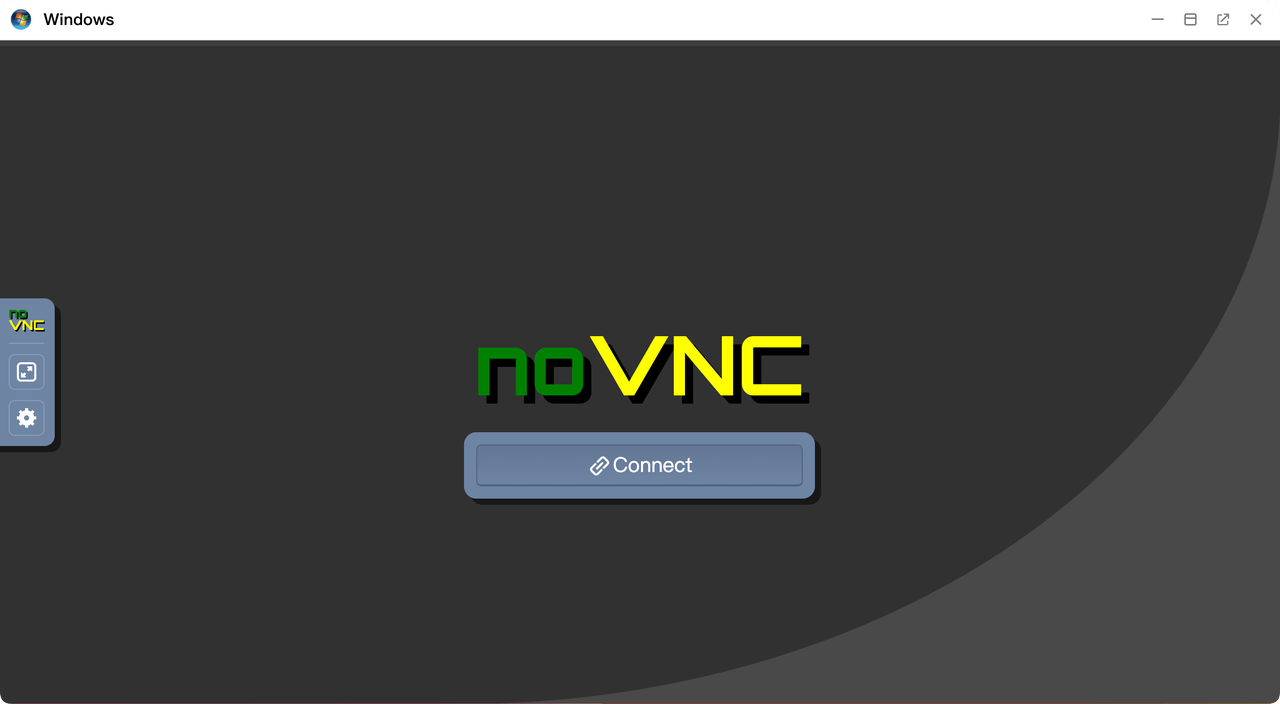
Click Connect to restore the session.
Windows system image download fails
If the Windows system image fails to download during setup:
Wait a short while, then restart the application:
- Open Control Hub from the Launchpad.
- Select the windows project.
- Under Deployment, click windows.
- Click Restart.

After the restart, the system image download will automatically retry.
If repeated failures occur, your IP may have been temporarily blocked by Microsoft due to multiple download attempts in a short period.
Wait 24 hours, then restart or reinstall the application and try again.If the issue persists, please contact us for assistance.
Can I install other Windows versions or languages?
Currently, the following Windows version are supported:
- Windows 11 Pro
- Windows 11 LTSC
- Windows 11 Enterprise
- Windows 10 Pro
- Windows 10 LTSC
- Windows 10 Enterprise
- Windows 8.1 Enterprise
- Windows 7 Ultimate
- Windows Vista Ultimate
- Windows 2000 Professional
- Windows Server 2025
- Windows Server 2022
- Windows Server 2019
- Windows Server 2016
- Windows Server 2012
- Windows Server 2008
- Windows Server 2003
After Windows installation, you can change the display language using the standard Windows language settings.