Set up Open WebUI for local AI chat
Open WebUI provides a user-friendly chat interface for local models on your Olares device. It does not include any models by default, so you need to connect it to a model backend.
This guide covers two configuration options: using Ollama to pull models directly from the Ollama Registry, or using a dedicated pre-configured model app such as Qwen3.5 27B Q4_K_M (Ollama).
Learning objectives
In this guide, you will learn how to:
- Install Open WebUI On Olares.
- Create an admin account.
- Configure a model backend using Ollama or a dedicated model app.
- Connect the model to Open WebUI and start a chat session.
Prerequisites
- An Olares device with sufficient disk space and memory
- Admin privileges to install shared apps from Market
Install Open WebUI
Open Market and search for "Open WebUI".
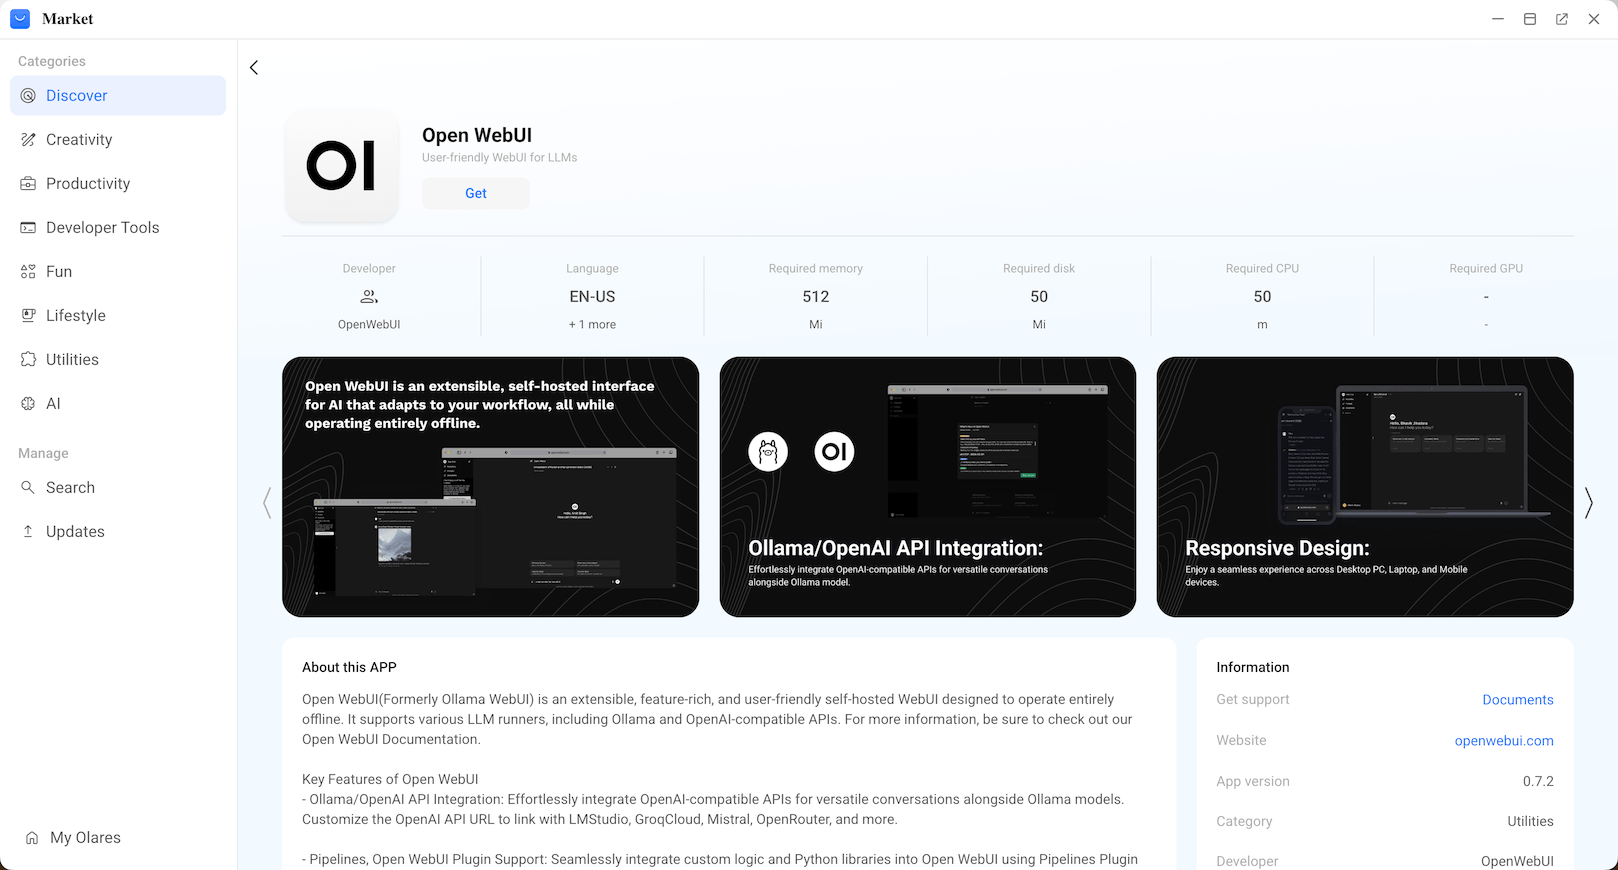
Click Get, and then click Install. Wait for the installation to finish.
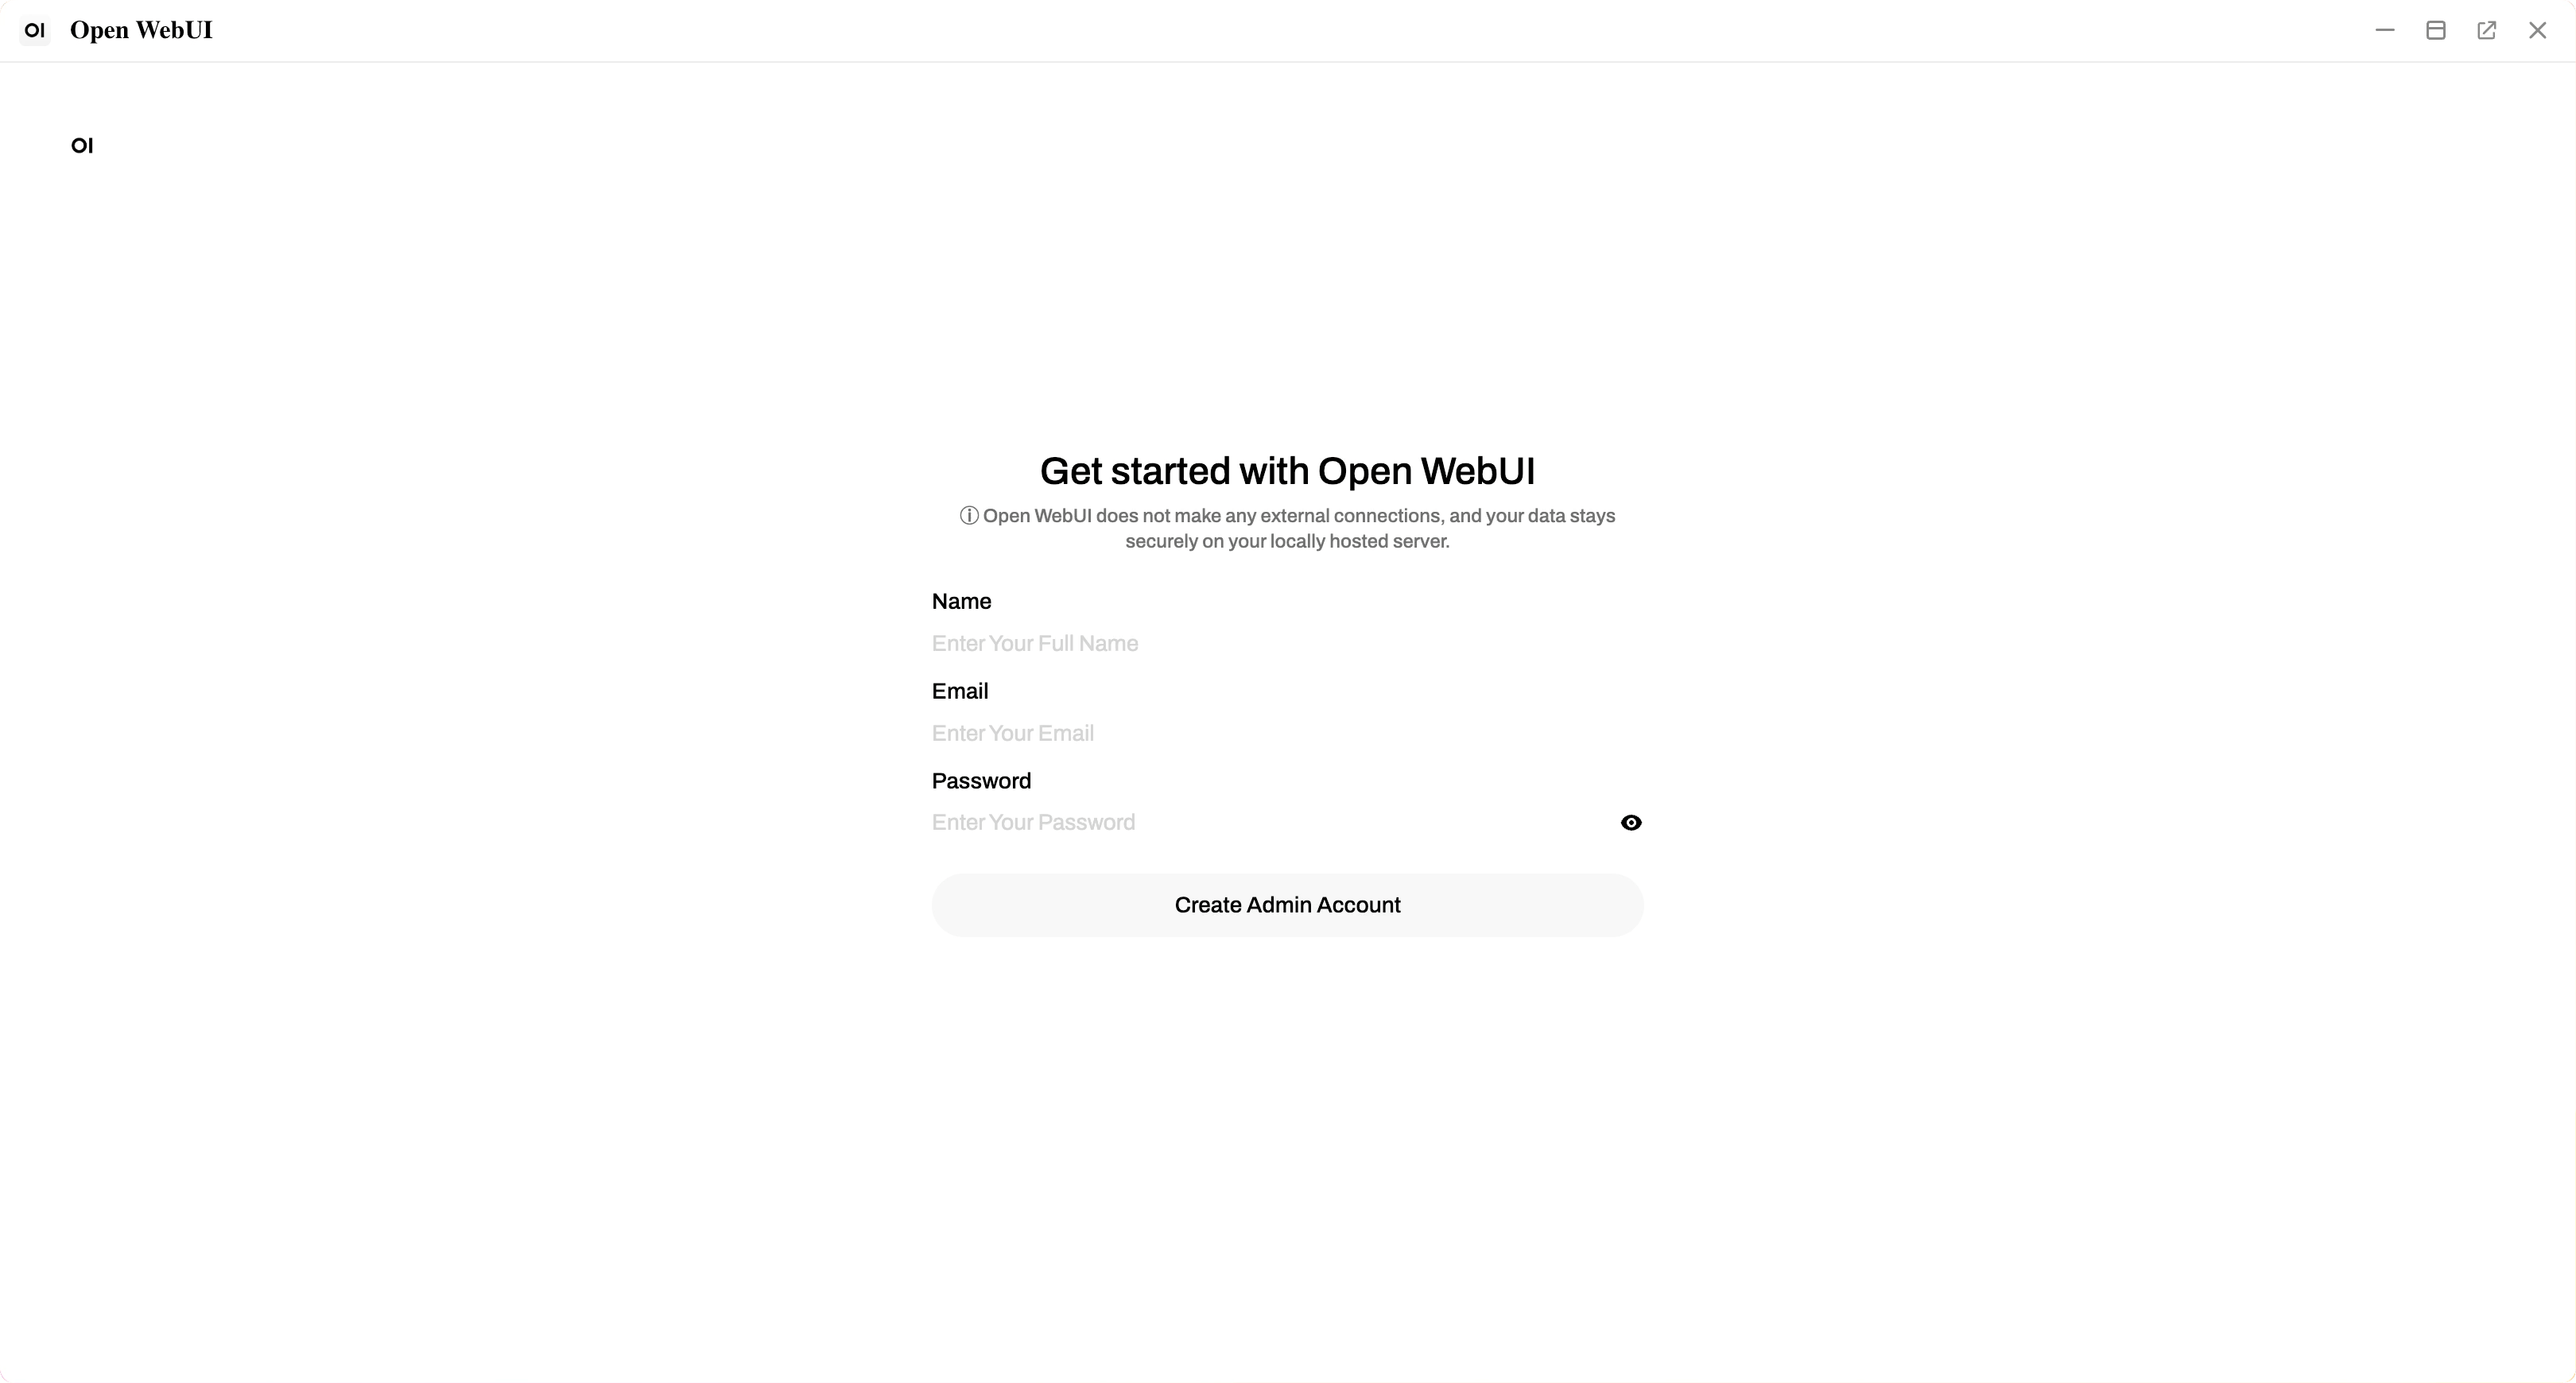
Create an admin account
The first time you launch Open WebUI, you need to create a local administrator account to manage your models and settings.
Open Open WebUI from the Launchpad.
On the welcome page, click Get started.
Enter your name, email, and password to create the admin account.
Configure model backend
Open WebUI requires a backend model to generate responses. Choose one of the following options to configure your model backend.
Recommendation for multiple models
While Ollama (Option A) offers flexibility, hosting multiple models simultaneously within a single Ollama instance might lead to resource scheduling conflicts.
For optimal performance and stability when using multiple models, install independent model apps (Option B) instead of using the general Ollama application.
Option A: Use Ollama
Use Ollama to pull and switch between different models from the Ollama Registry for greater flexibility.
Install Ollama
Open Market and search for "Ollama".

Click Get, and then click Install. Wait for the installation to finish.
Download a model
With Ollama installed, you can pull models directly through the Open WebUI interface.
Browse models first
Visit Ollama Library to browse available models and get the exact model name before downloading. Model names must match exactly to pull successfully.
Download time
Models range from 2 GB to 20+ GB. Download time depends on your network speed.
Verify the connection
Open WebUI automatically detects and connects to your local Ollama installation. The connection is successful when your downloaded model appears in the model drop-down list at the top of the chat page.
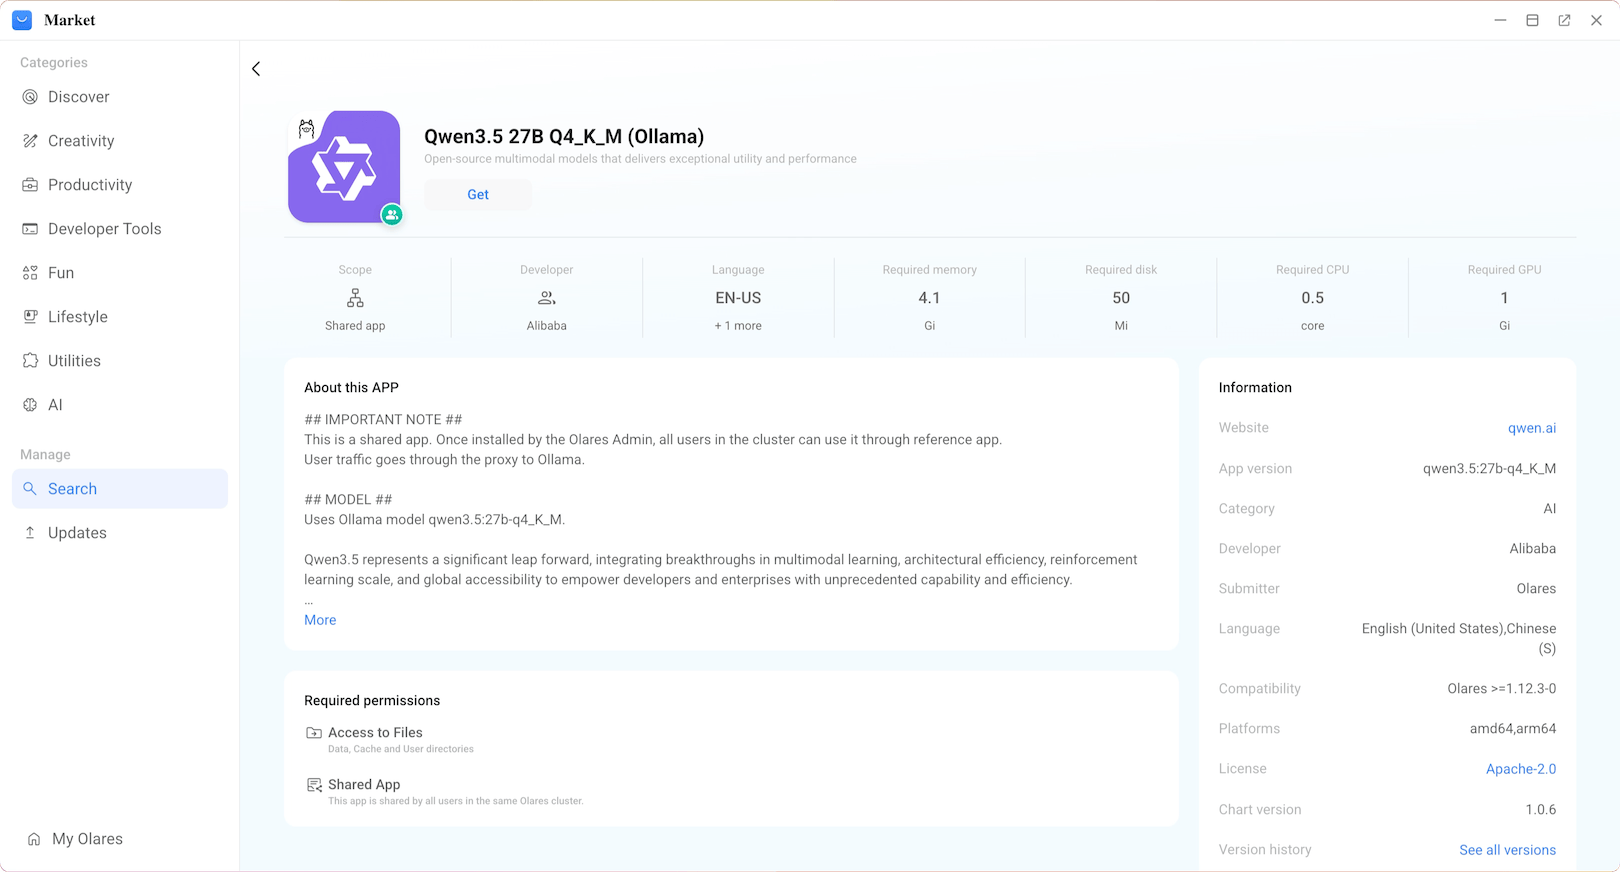
Option B: Use model apps
A model app packages a specific model with pre-configured settings. This option is best if you want a ready-to-use model without managing the Ollama Registry.
Install the model app
Open Market and search for your desired model.
Click Get, and then click Install. Wait for the installation to finish.
Download the model
Open the model app you just installed. The model download starts automatically.
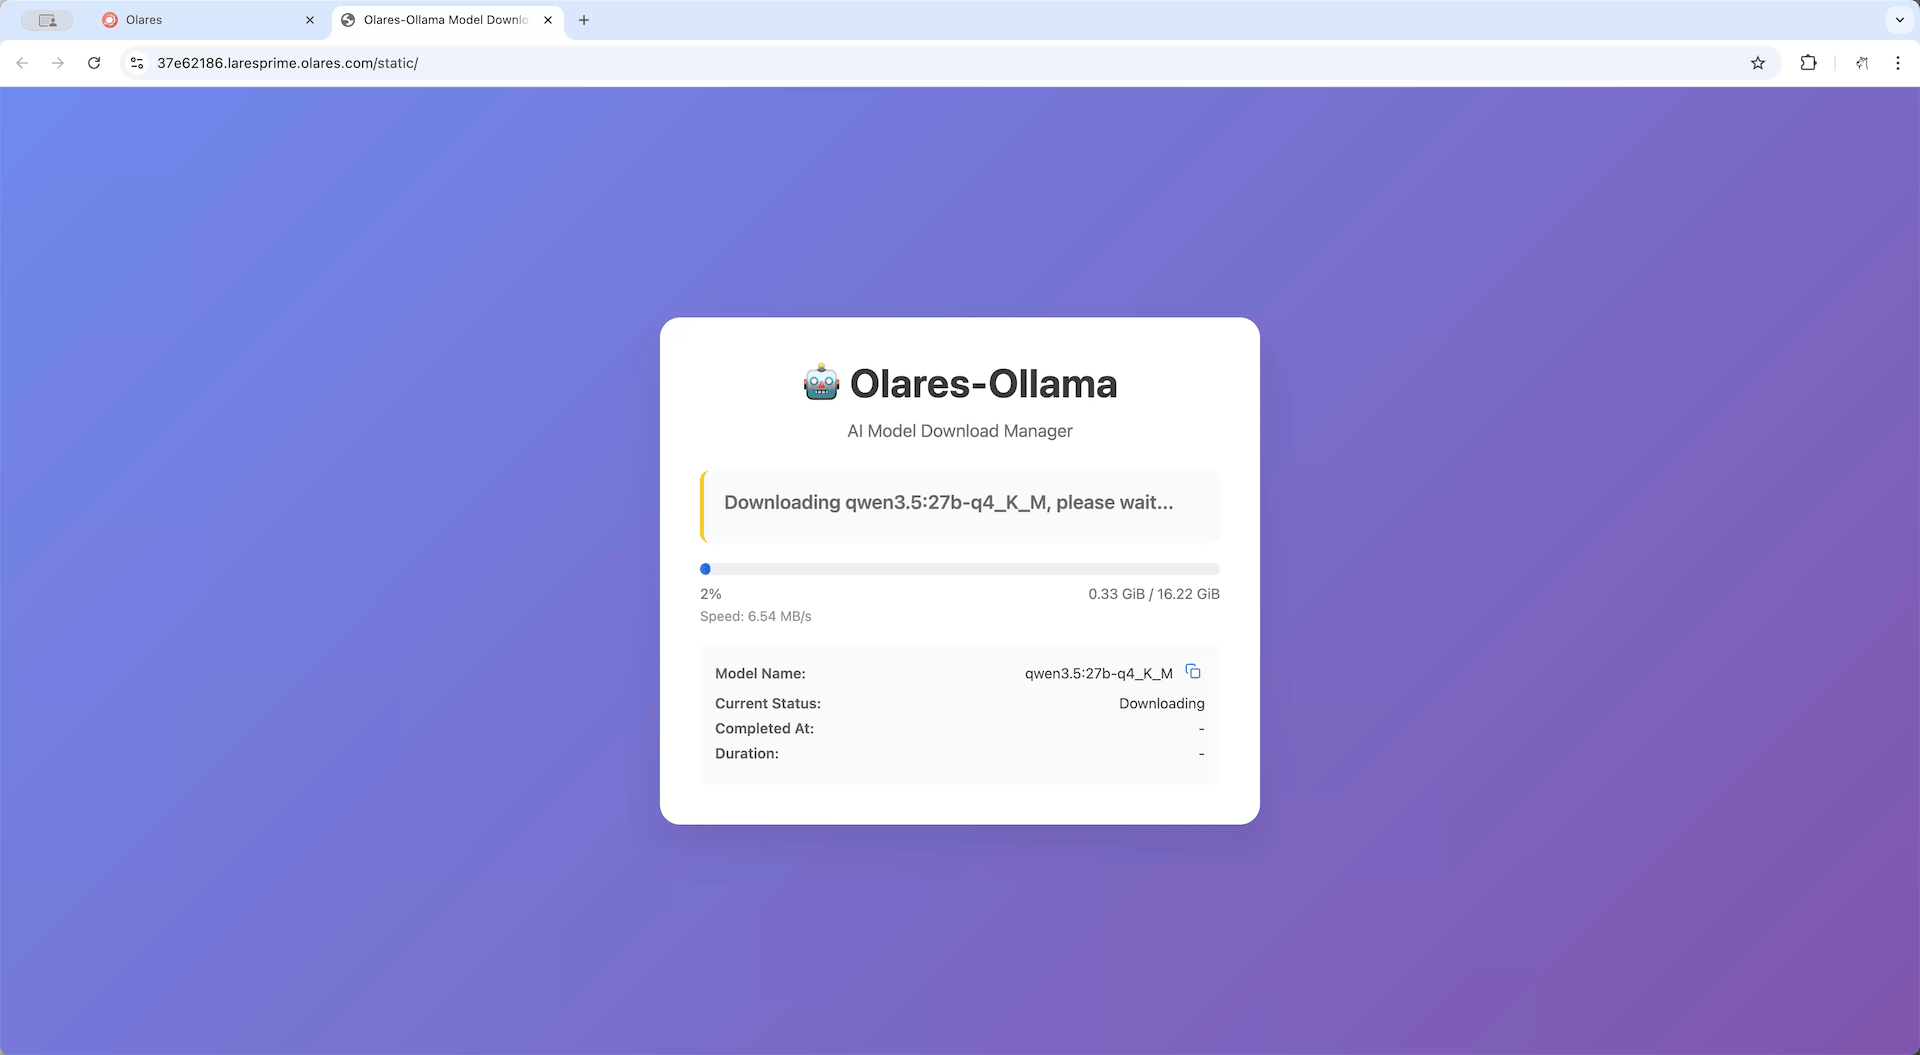
When you see the completion screen, the model is ready.
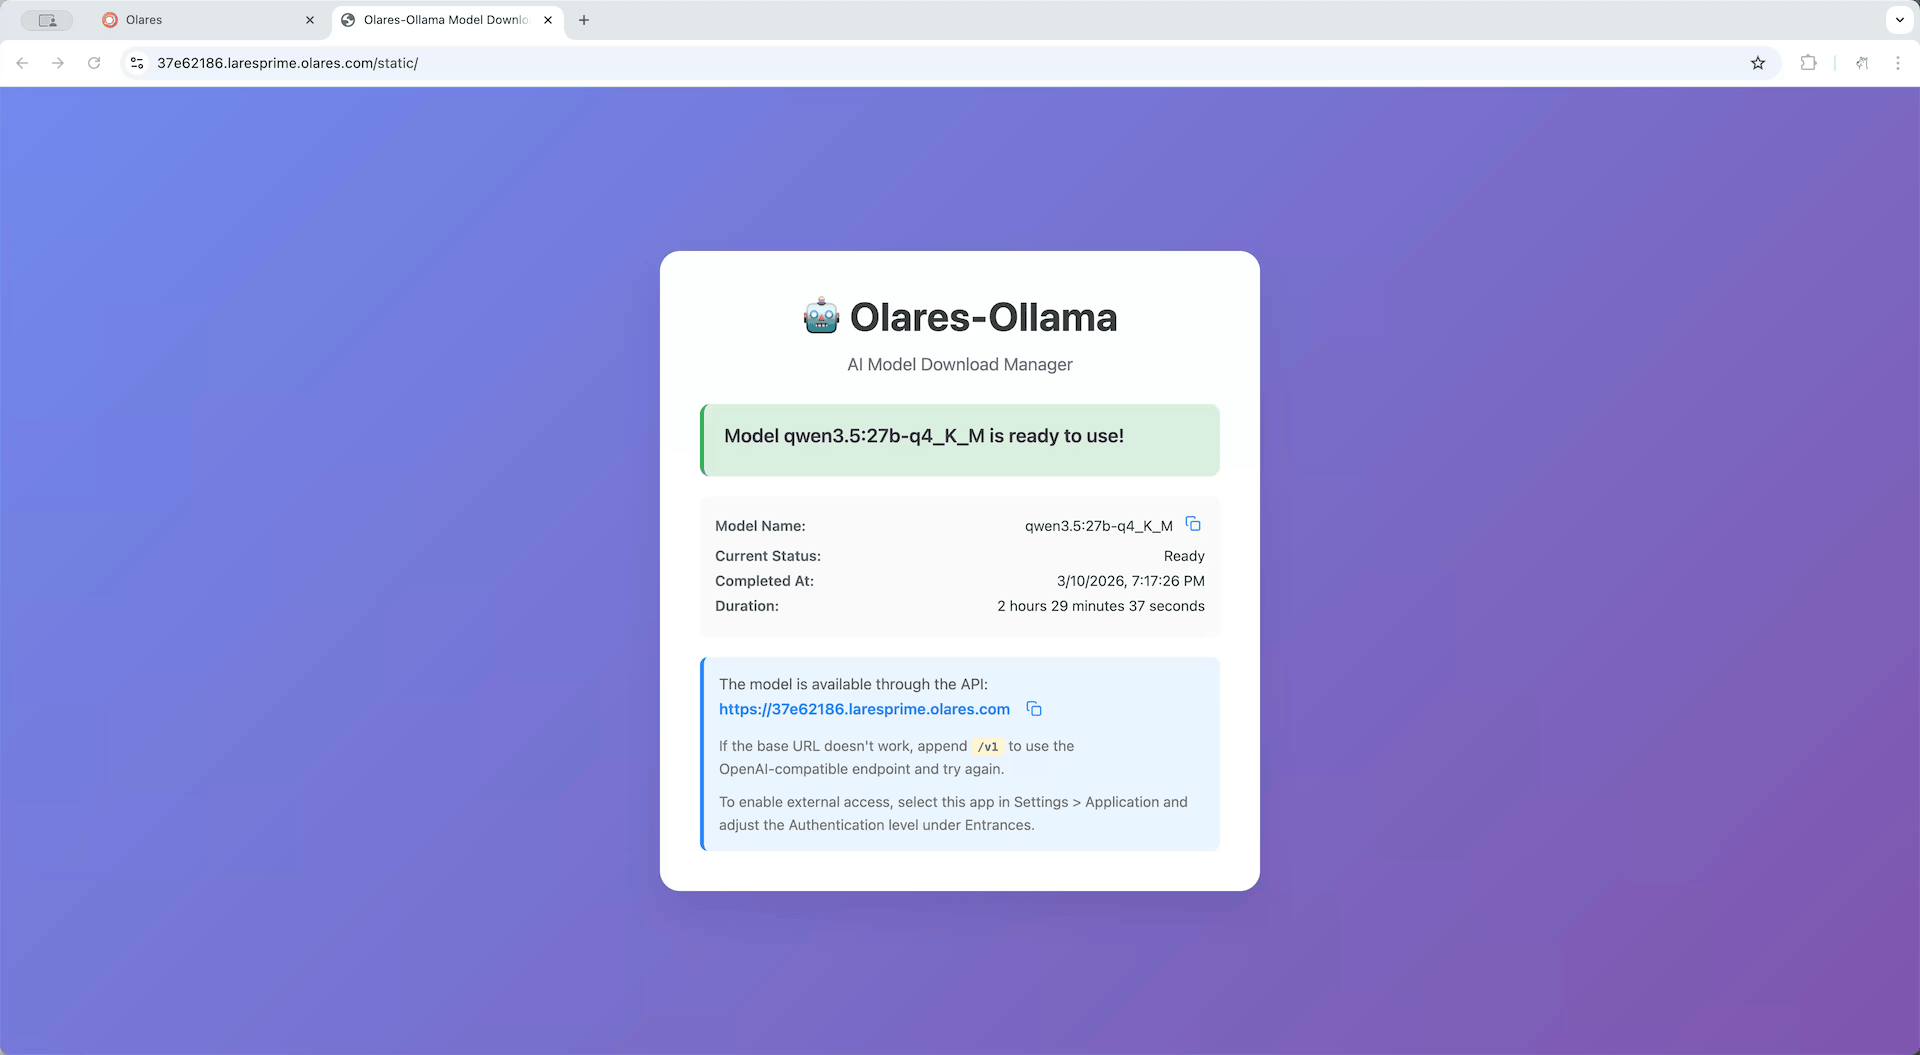
Obtain model app endpoint
To allow Open WebUI to communicate with this specific model, you need to obtain its shared endpoint URL.
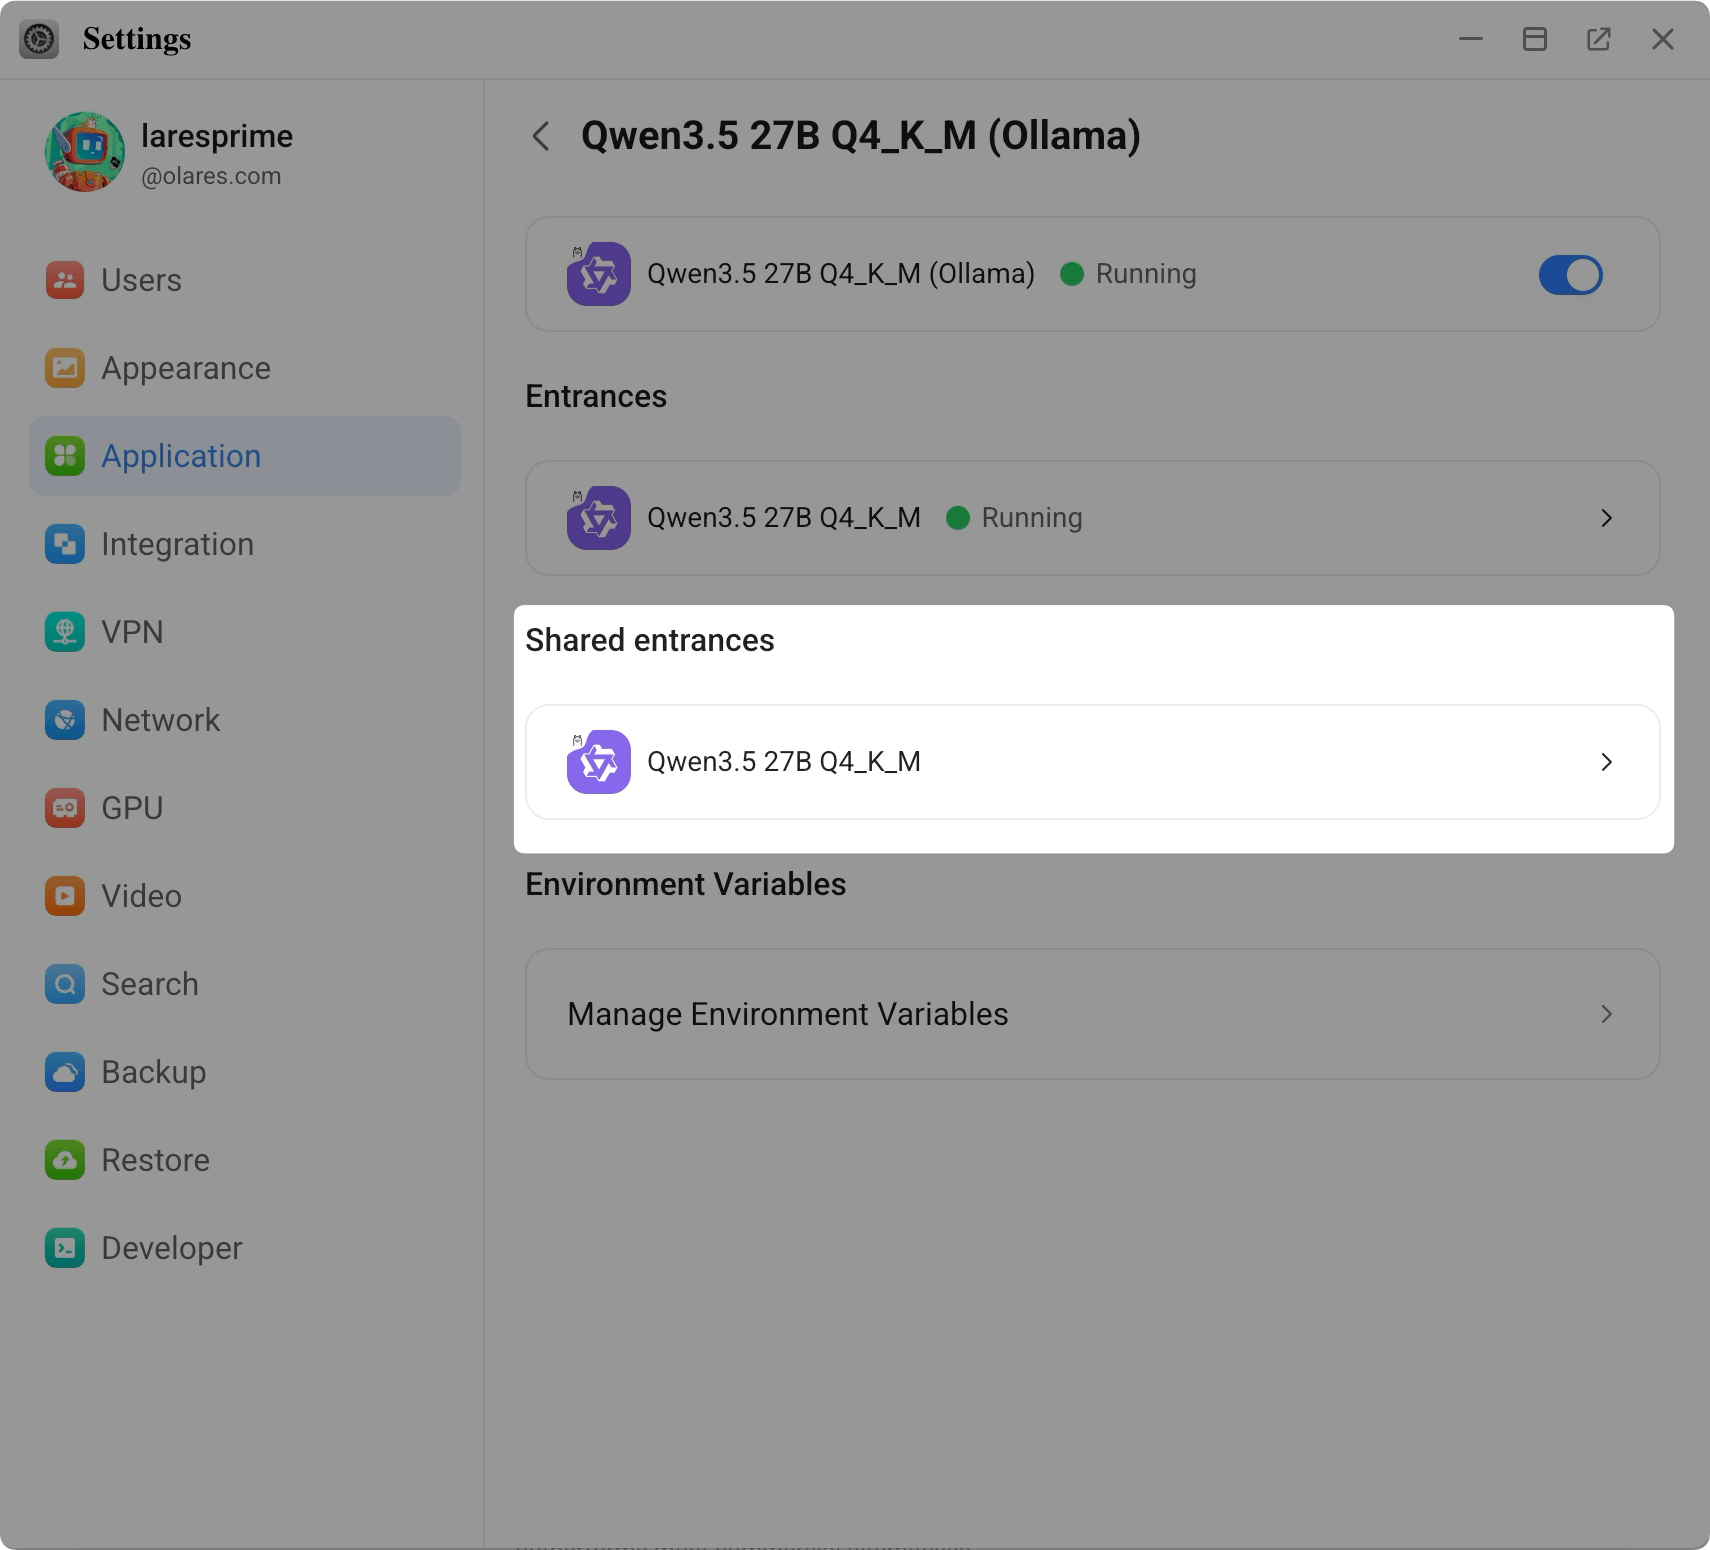
Open Olares Settings, and then go to Applications > [Model App Name].
In Shared entrances, select the model to view its endpoint URL.
Copy the endpoint URL. For example,
http://94a553e00.shared.olares.com.
Why not use the URL shown on the model page?
The URL shown on the model app page is user-specific and relies on browser-based frontend calls. If your device and Olares are not on the same local network, those calls might trigger Olares sign-in and you might encounter cross-origin restrictions (CORS). To avoid these issues, use the shared endpoint URL.
Connect the model app to Open WebUI
Now, return to Open WebUI to link the model using the endpoint URL you just copied.
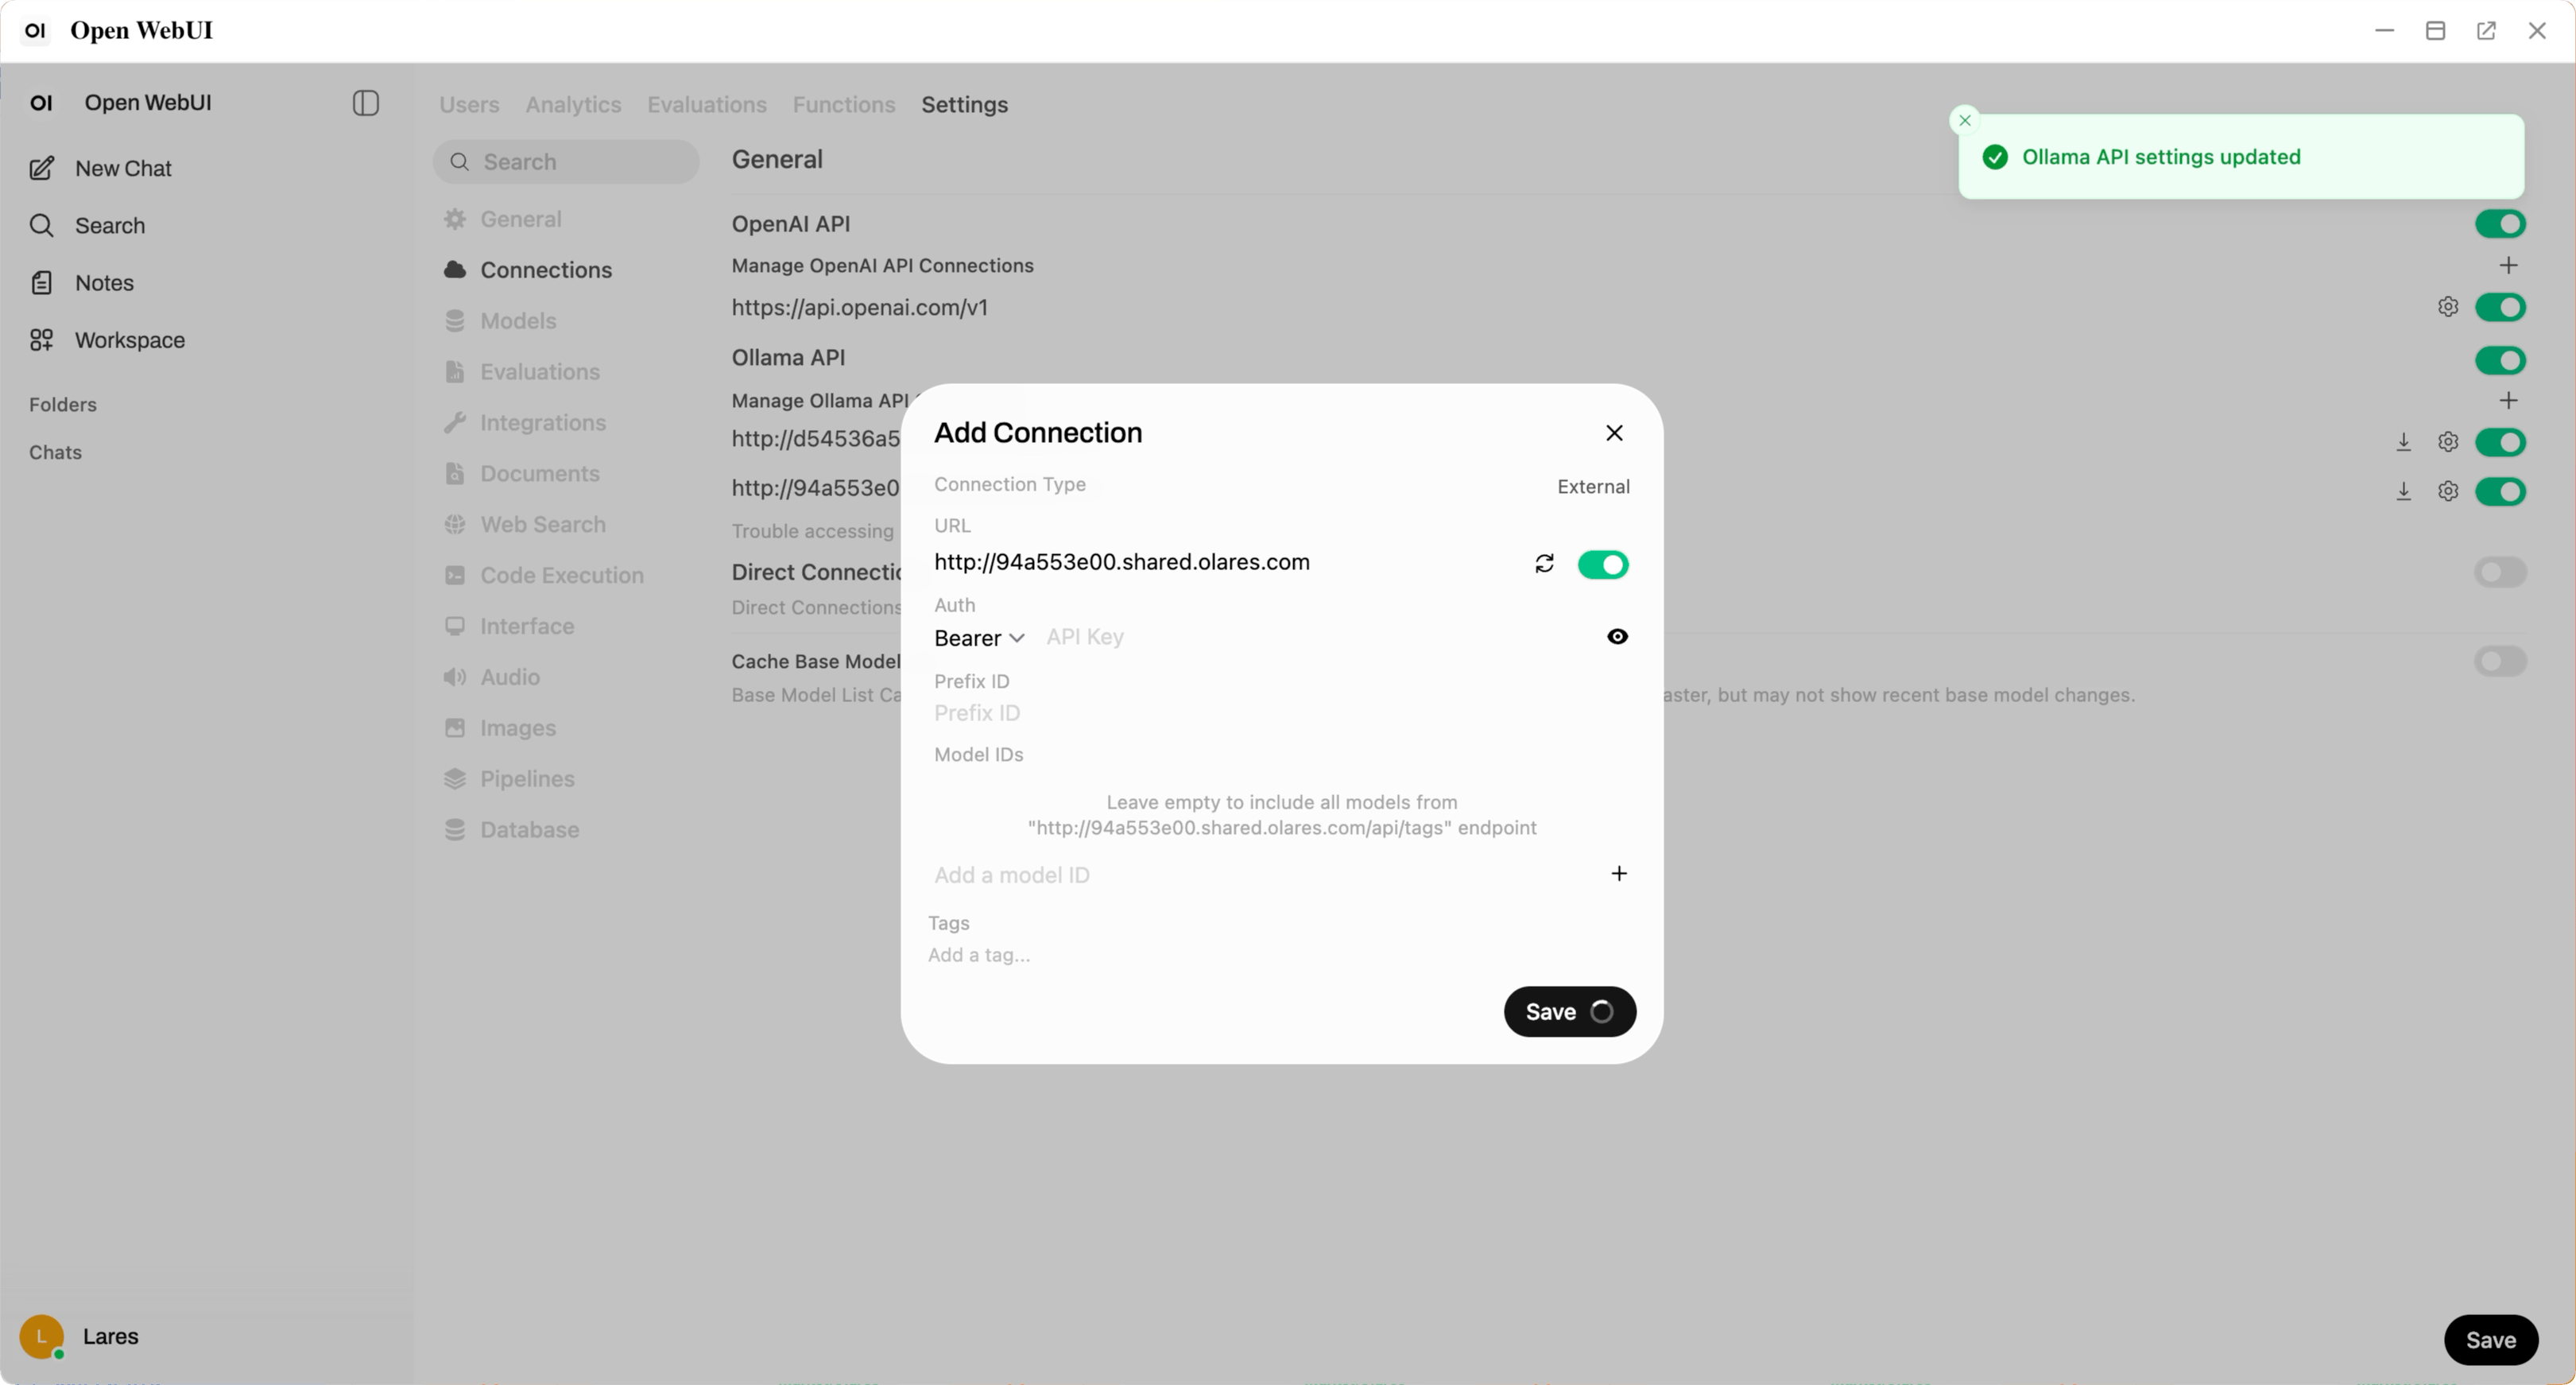
In Open WebUI, click your profile icon and select Admin Panel.
Go to Settings > Connections.
On the right of Manage Ollama API Connections, click add to add a new connection.
In the URL field, paste the model app's endpoint URL you copied earlier.
Click Save.
Open WebUI verifies the connection automatically. When you see the "Ollama API settings updated" message, the connection is established.
Start chatting
Once you connect a model, you are ready to use the chat interface.
In the model drop-down list, select your configured model.
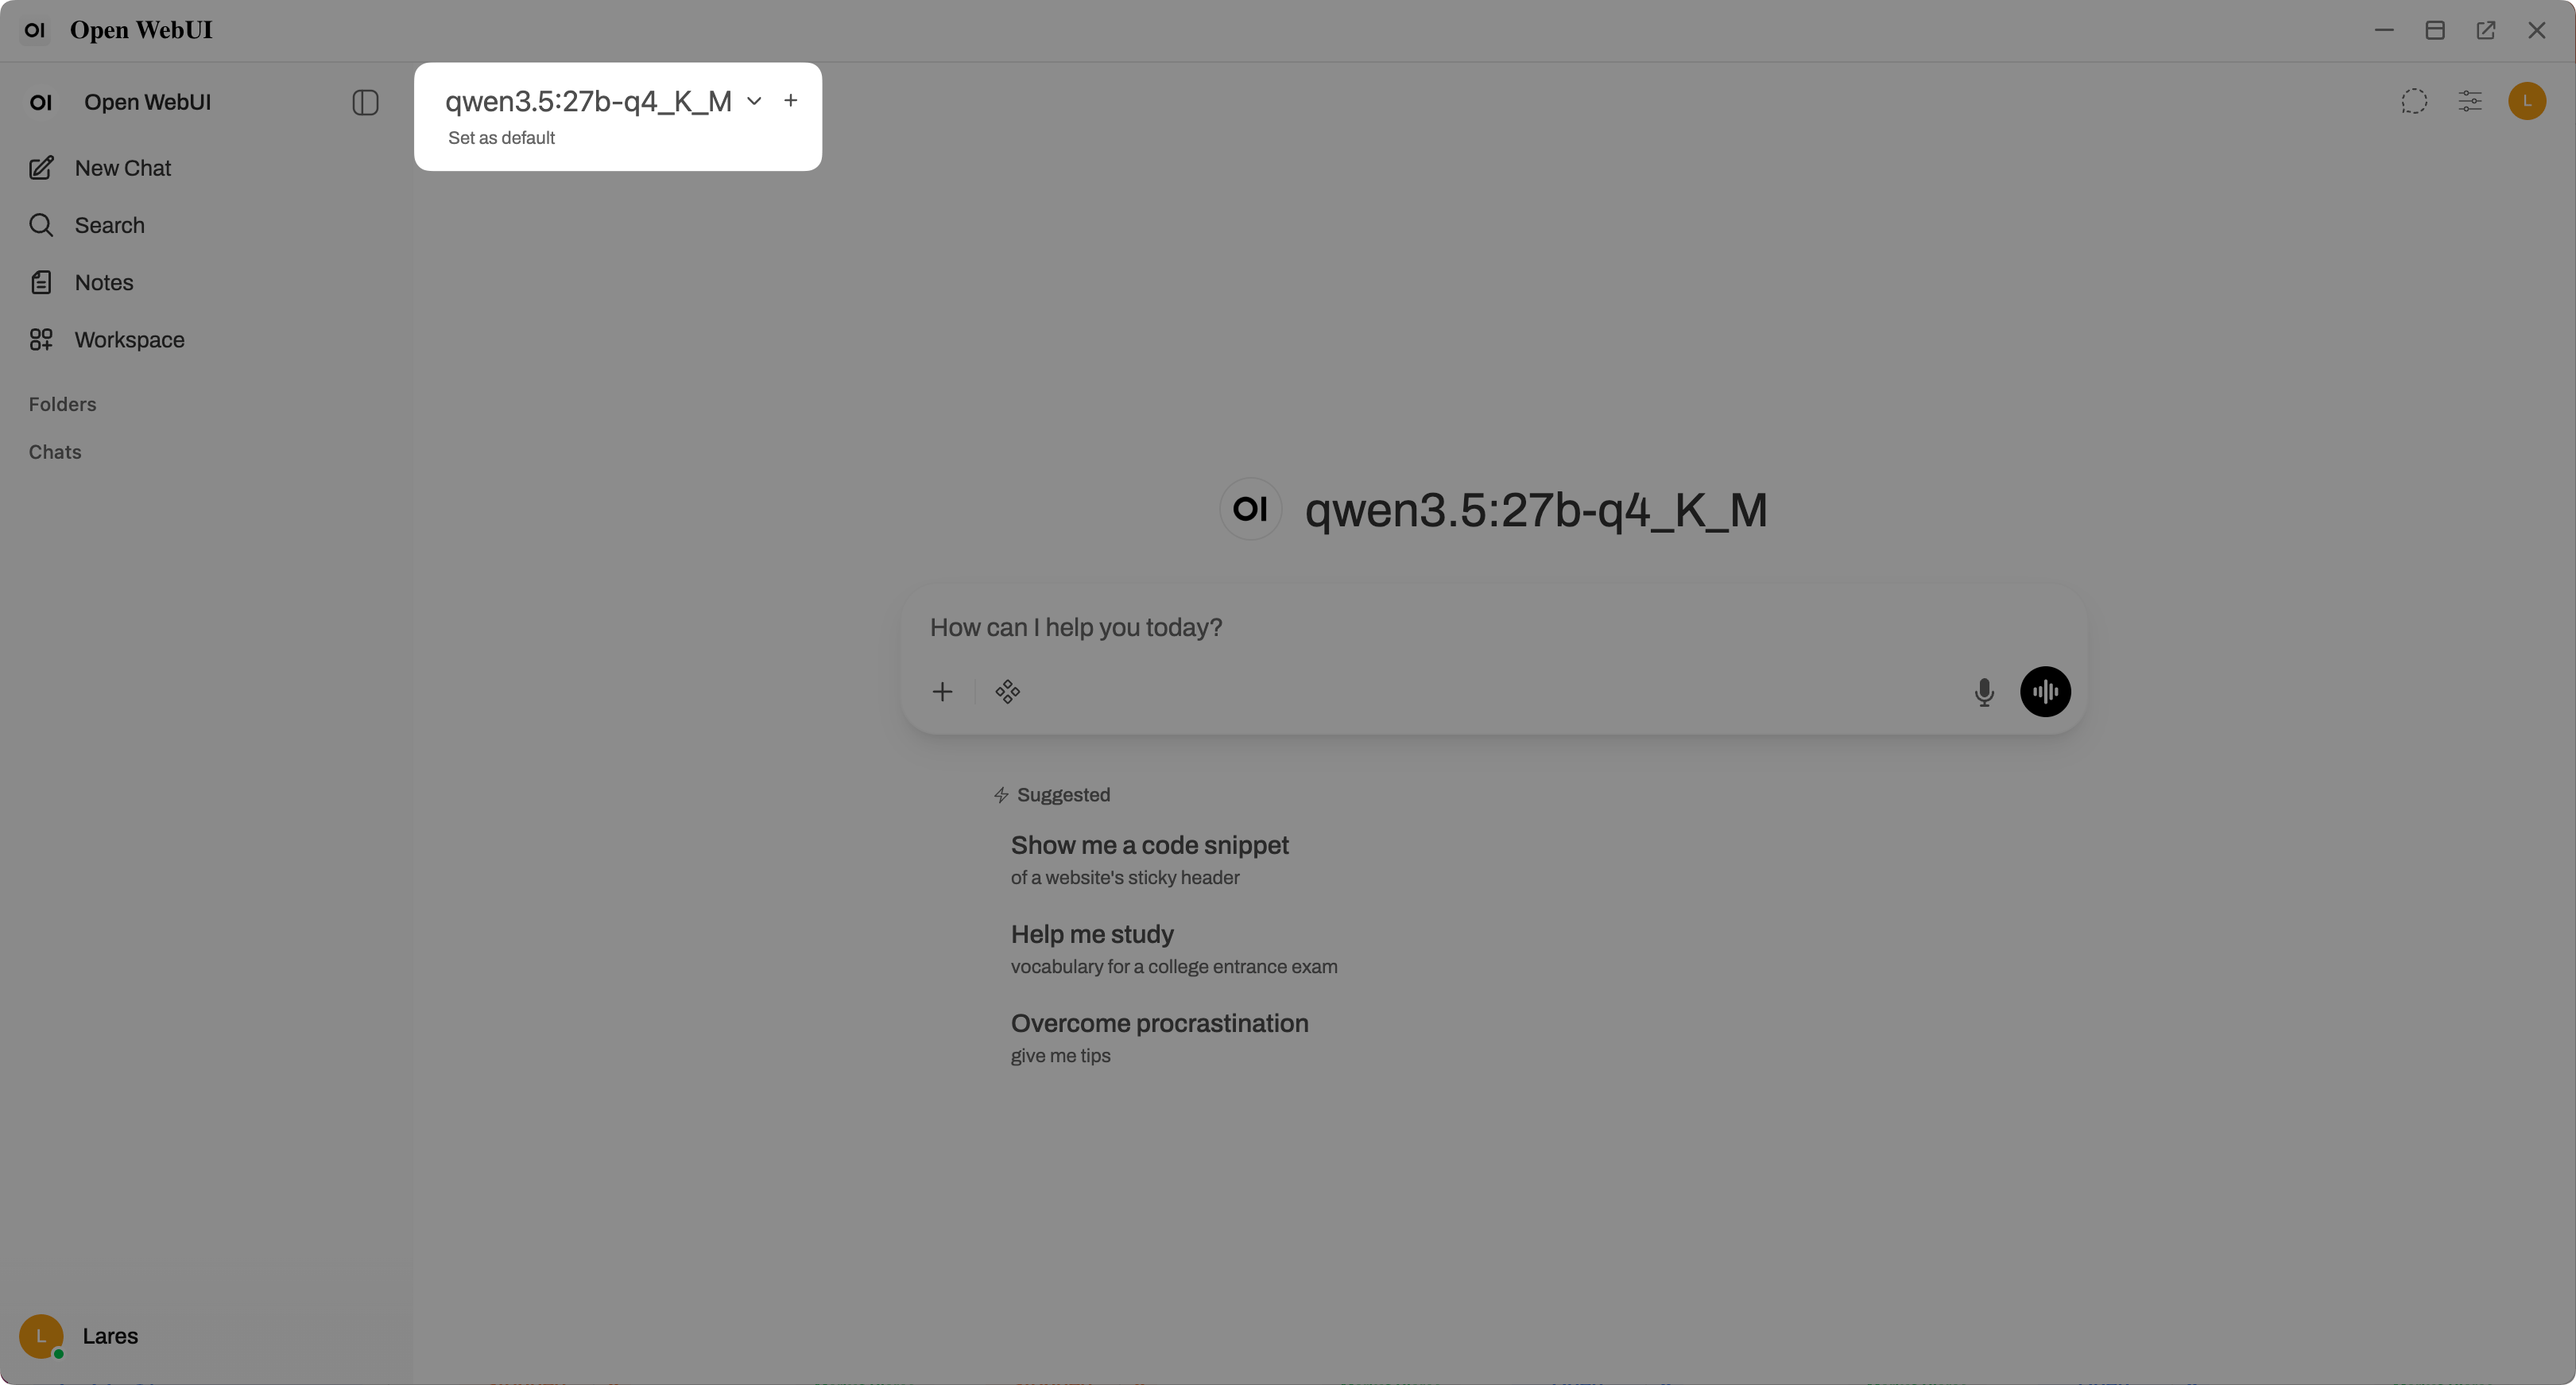
Enter your prompt in the text box, and then press Enter to start your conversation.
Learn more
- Set up multi-user access: Share Open WebUI with other users on your Olares device.
- Configure audio: Enable speech-to-text and text-to-speech.
- Enable web search: Add web search capabilities to your chats.
- Use knowledge base: Upload documents and create a knowledge base for RAG.